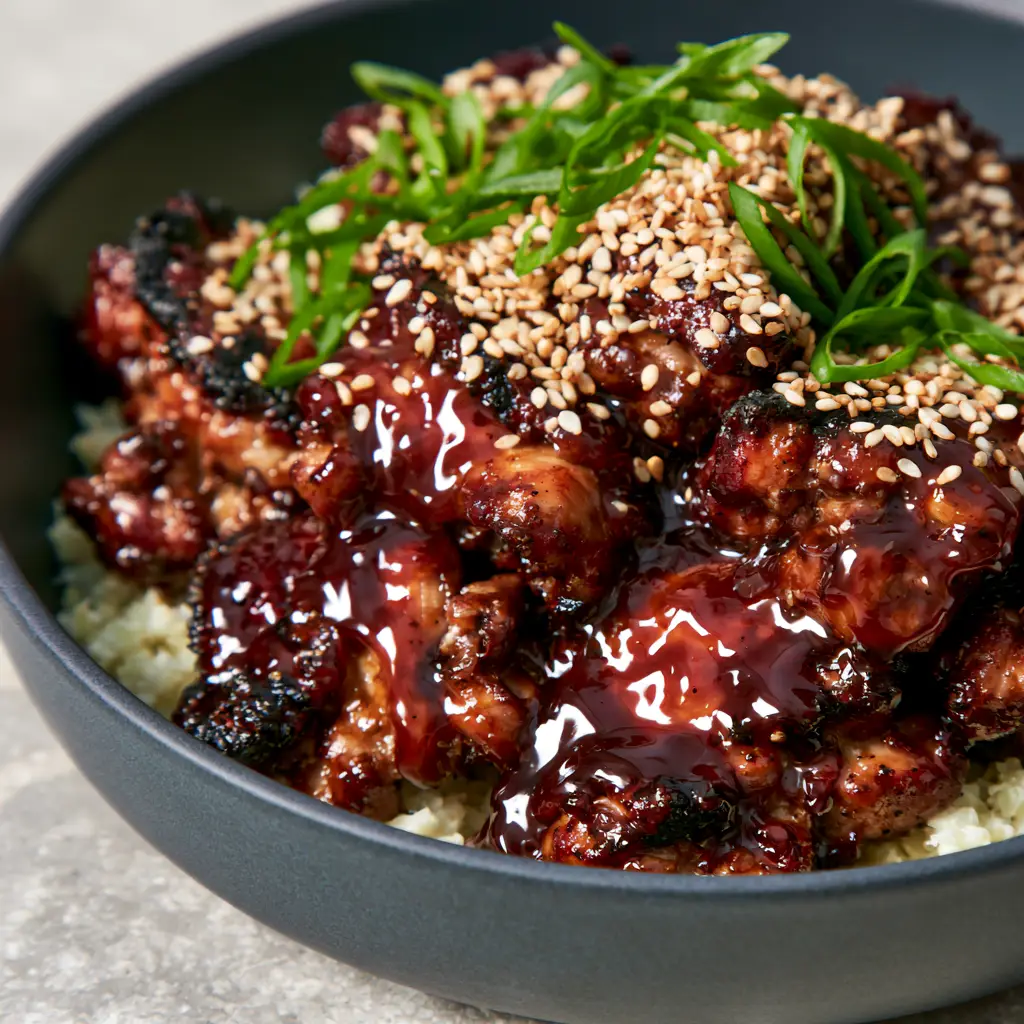
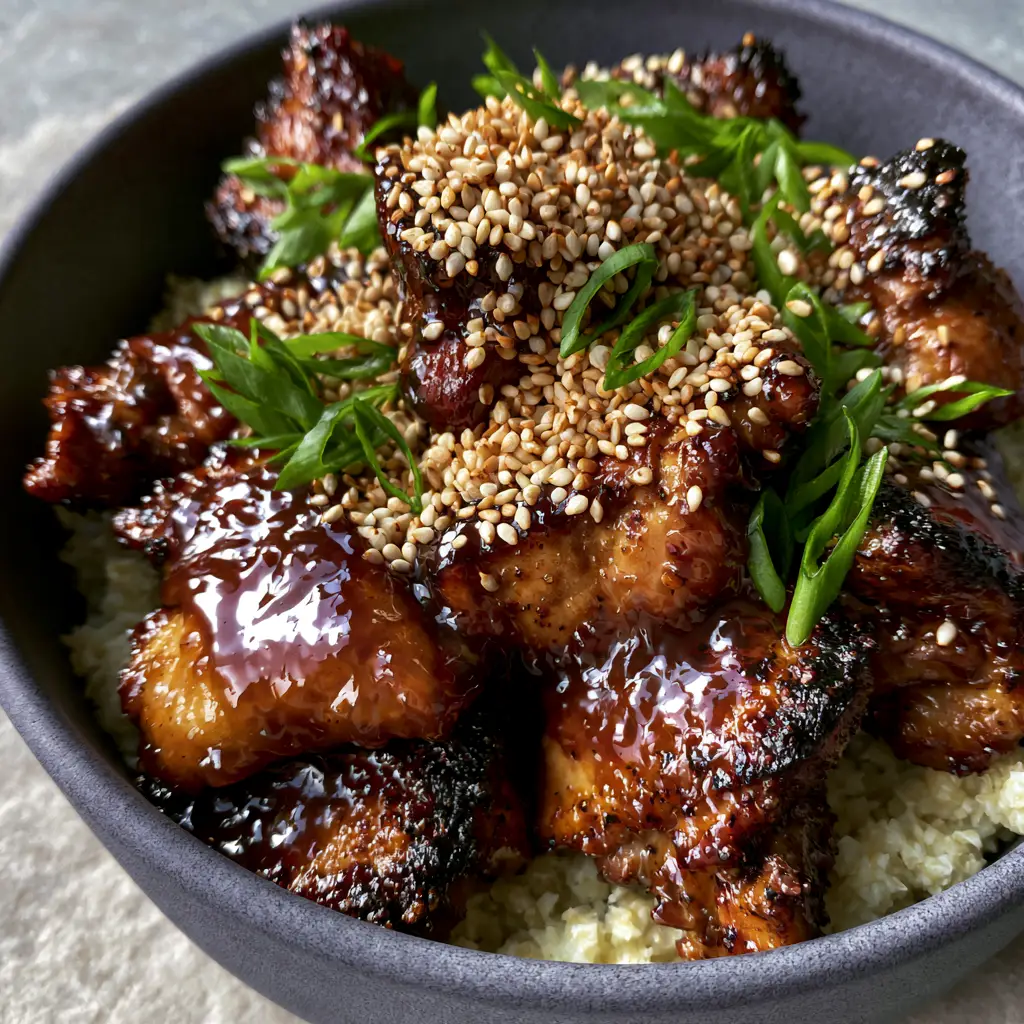
There is something inherently captivating about a bowl of Paleo Chicken Teriyaki that looks like it just stepped off a professional film set. Imagine bite-sized pieces of succulent chicken thighs, each boasting deeply seared, caramelized edges that provide a smoky contrast to a thick, translucent, dark mahogany-colored glaze. This isn’t just a meal; it is a sensory experience where the glistening sauce clings to every contour of the meat, catching the light perfectly as it sits atop a cloud of fluffy, steamed cauliflower rice.
Achieving this level of culinary excellence at home requires more than just mixing ingredients; it demands an understanding of the Maillard reaction and the unique behavior of paleo-friendly thickeners. By swapping traditional soy and refined sugars for coconut aminos and natural sweeteners, we create a dish that is as vibrant and healthful as it is visually stunning. The final flourish of toasted white sesame seeds and finely sliced green scallions provides the essential crunch and brightness needed to cut through the rich, savory sauce.
Whether you are a seasoned paleo veteran or simply looking for healthy dinner ideas, this recipe bridges the gap between clean eating and gourmet indulgence. We have meticulously crafted this guide to ensure your chicken achieves that specific reflective sheen and viscous texture described in our visual blueprint, served in a matte charcoal ceramic bowl for the ultimate aesthetic appeal.
Why This Grain-Free Teriyaki Will Become Your New Favorite
- Visually Stunning Glaze: A deep mahogany, translucent sauce that is thick enough to coat a spoon and reflective enough to shimmer under kitchen lights.
- Perfect Texture Contrast: High-heat searing creates charred, caramelized edges on the chicken thighs while keeping the interior tender and juicy.
- Clean Ingredient Profile: Completely soy-free, grain-free, and refined sugar-free, making it perfect for Paleo and Whole30-adjacent lifestyles.
- Nutrient-Dense Foundation: Swapping white rice for fluffy cauliflower rice increases your vegetable intake without sacrificing the “comfort food” feel of a stir-fry.
The Essential Paleo Pantry for Sticky Teriyaki Sauce
Boneless Skinless Chicken Thighs (2 lbs / 907g): We use thighs instead of breasts because the higher fat content allows for a better sear and prevents the meat from drying out during the glazing process. Cut them into uniform 1-inch chunks to ensure even cooking and maximum surface area for the sauce.
Coconut Aminos (1 cup / 240ml): This is the lifeblood of our Paleo Chicken Teriyaki. It provides the salty, umami base without the soy or gluten found in traditional soy sauce, and its natural sugars help achieve that mahogany color.
Raw Honey or Maple Syrup (2 tbsp / 30ml): A touch of natural sweetness is required to balance the saltiness and contribute to the “sticky” factor of the glaze. This helps the sauce reach that viscous, reflective state we see in the visual prompt.
Fresh Ginger and Garlic (1 tbsp each / 15g): These aromatics provide the foundational flavor profile. Grating them finely ensures they melt into the sauce rather than leaving chunky bits that might disrupt the translucent look of the glaze.
Arrowroot Powder (1 tsp / 3g): This is the secret to a clear, translucent shine. Unlike flour, arrowroot creates a glossy finish that doesn’t cloud the dark mahogany color of the aminos.
Avocado Oil (2 tbsp / 30ml): A high-smoke point oil is non-negotiable for achieving those “visible charred edges.” It allows the pan to get screaming hot without the oil breaking down or tasting bitter.
Cauliflower Rice (1 lb / 454g): Freshly riced or frozen cauliflower provides the perfect neutral base to soak up the excess mahogany glaze. Steam it until just tender to maintain a “fluffy” grain-like texture.
Toasted Sesame Seeds and Green Onions: These are the “hero” garnishes. The white seeds pop against the dark chicken, while the vibrant green scallions add a fresh, sharp finish.
Must-Have Tools for the Ultimate Sear
To replicate the authentic food blog aesthetic, you need a heavy-bottomed skillet, preferably cast iron or carbon steel. These materials retain heat efficiently, which is the only way to get those caramelized, charred edges without overcooking the center of the chicken chunks.
A fine-mesh grater is also essential for the ginger and garlic to ensure they emulsify into the sauce perfectly. Finally, a wide, matte charcoal ceramic bowl serves as the perfect high-contrast backdrop, making the mahogany glaze and green onions visually “pop” for your social media photos.
Mastering the Sear: How to Get Those Perfect Caramelized Edges
Phase 1: Preparing the Mahogany Base
Whisk together the coconut aminos, honey, grated ginger, and garlic in a small bowl. In a separate tiny ramekin, create a slurry by mixing the arrowroot powder with one tablespoon of water until smooth. This preparation ensures that once the chicken is ready, the glazing process happens quickly to maintain the meat’s texture.
Phase 2: Achieving the Deep Char
Pat your chicken thigh chunks bone-dry with paper towels; moisture is the enemy of a good sear. Heat the avocado oil in your skillet over medium-high heat until it just begins to shimmer. Add the chicken in a single layer, making sure not to crowd the pan—you may need to work in batches.
Let the chicken sit undisturbed for 3-4 minutes. You are looking for a visual cue: the edges should begin to turn a deep golden-brown, almost black in tiny spots. Flip and cook for another 2-3 minutes until the chicken is fully cooked and boasts those signature charred edges.
Phase 3: The Glazing and Reduction
Reduce the heat to medium and pour in the coconut aminos mixture. As the liquid bubbles, it will begin to pick up the browned bits (fond) from the bottom of the pan, deepening the color to a rich mahogany. Pour in the arrowroot slurry and stir constantly.
Watch for the sensory cue: the sauce will transform from a thin liquid to a thick, viscous glaze that is visibly reflective. It should cling tightly to the chicken pieces, creating a heavy coating that doesn’t run off. Once the sauce is thick and glistening, remove from heat immediately.
Phase 4: Fluffing the Cauliflower Rice
While the chicken rests for a moment, steam your cauliflower rice with a pinch of salt until fluffy and tender. Avoid overcooking, as you want the “grains” to remain distinct to support the weight of the sticky chicken.
Expert Tips for Paleo Chicken Teriyaki Success
- Dry the Meat: If the chicken is wet, it will steam instead of sear. Always pat it dry to ensure those caramelized edges form properly.
- Don’t Skip the Slurry: Adding arrowroot directly to a hot pan will cause clumping. Always mix it with a cold liquid first to maintain that translucent, professional look.
- Toast Your Seeds: If your sesame seeds aren’t pre-toasted, toss them in a dry pan for 30 seconds. The aroma and crunch make a massive difference in the final dish.
- Control the Heat: If the sauce reduces too quickly and becomes tacky rather than glistening, add a tablespoon of water to loosen it back to a reflective state.
Storage, Reheating, and Meal Prep Advice
This Paleo Chicken Teriyaki is an exceptional candidate for meal prep. Store the chicken and cauliflower rice in airtight containers in the refrigerator for up to 4 days. The glaze will thicken further when cold but will return to its glistening, viscous state upon reheating.
To reheat, use a skillet over low heat with a splash of water to loosen the sauce. Avoid the microwave if possible, as it can make the chicken rubbery and the cauliflower rice soggy. This dish does not freeze well, as the cauliflower rice can become watery upon thawing.
What to Serve With This Sticky Glazed Chicken
While this dish is a complete meal on its own, it pairs beautifully with other vibrant sides. If you are looking for a more varied spread, consider starting with a refreshing grilled shrimp salad or a side of steamed bok choy. For those who enjoy a bit of fruitiness in their meals, the sauce profile actually complements the flavors in an orange teriyaki baked salmon.
If you’re hosting a multi-course dinner, this chicken serves as a fantastic main alongside a light pasta primavera for non-paleo guests, or a simple cucumber salad. If you have leftover chicken, it makes a phenomenal protein boost for a paleo chicken fried rice the following day.
Frequently Asked Questions
While you can use breast meat, chicken thighs are highly recommended. Thighs contain more fat, which allows for a better high-heat sear and prevents the meat from drying out while the glaze reduces to its signature mahogany thickness.
If your sauce isn’t reaching a viscous, reflective state, let it simmer for an extra 1-2 minutes to reduce the liquid further. The natural sugars in the honey and coconut aminos will eventually reach a sticky consistency.
The key is to steam the cauliflower rice quickly and avoid over-stirring. If using frozen, ensure it is fully thawed and squeezed dry before heating to maintain a grain-like texture that can hold the heavy teriyaki sauce.
Coconut aminos is thinner and sweeter than traditional soy sauce. In this recipe, we balance its natural sweetness with ginger and garlic to ensure the final Paleo Chicken Teriyaki has a deep, savory umami profile.
Cloudiness usually occurs if you use flour or too much cornstarch. For a clear, reflective mahogany finish that fits the Paleo profile, arrowroot powder is the best choice as it thickens without dulling the color of the coconut aminos.
The Ultimate Sticky Paleo Chicken Teriyaki Recipe
Paleo Chicken Teriyaki with Sticky Mahogany Glaze and Cauliflower Rice
Ingredients
Equipment
Method
- In a small bowl, whisk together coconut aminos, honey, grated ginger, and garlic. Prepare the arrowroot slurry separately.
- Heat oil in a skillet over medium-high heat. Add chicken chunks in a single layer and sear for 3-4 minutes until deep caramelized edges appear.
- Pour in the aminos mixture. Once bubbling, stir in the arrowroot slurry. Cook until the sauce becomes a thick, reflective mahogany glaze.
- Spoon the sticky chicken over a bed of steamed cauliflower rice in a charcoal bowl. Top with sesame seeds and scallions.
Notes
Use arrowroot for a translucent shine; tapioca can be slightly more gummy.
Closing & Call to Action
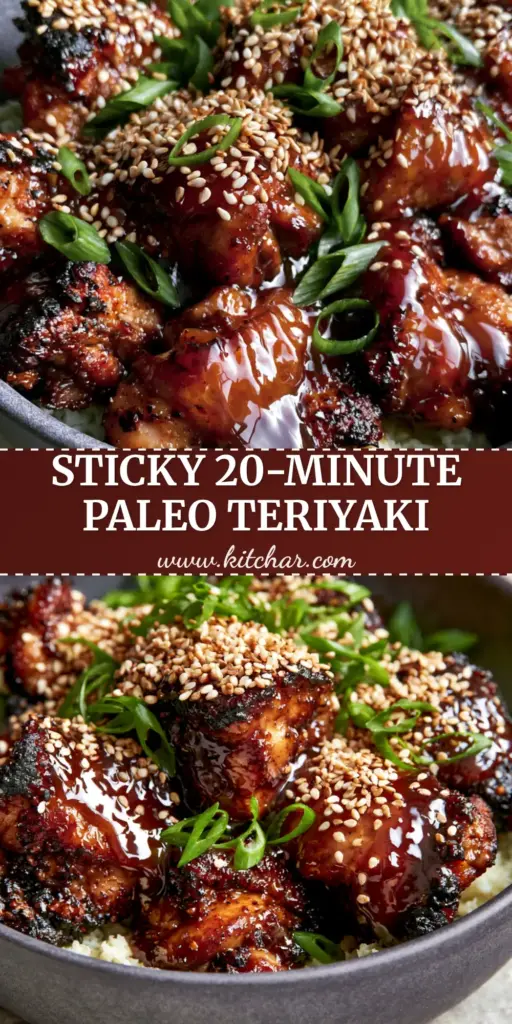
Creating a restaurant-quality Paleo Chicken Teriyaki at home is all about the details—from the deep sear on the thighs to the translucent mahogany shine of the coconut aminos glaze. This recipe proves that you don’t need soy or grains to enjoy a deeply satisfying, sticky, and sweet umami bowl. The combination of textures and flavors is designed to impress even the most discerning home cooks.
If you loved the glossy finish and bold flavors of this dish, please leave a comment and a star rating below! Don’t forget to snap a photo of your creation in its charcoal bowl and share it with us. For more visually stunning and healthy recipes, follow us and save this recipe to your favorite boards on Pinterest.