There is a specific, soul-satisfying sound that occurs when you bite into a perfectly executed sweet and sour mushroom recipe. It is the audible “shatter” of a double-battered crust giving way to the meaty, umami-rich core of an oyster mushroom. If you have been searching for that elusive restaurant-quality crunch paired with a vibrant, glossy glaze, you have arrived at the definitive guide.
Our culinary forensic analysis of the perfect plant-based stir-fry led us to a technique that prioritizes texture above all else. By using oyster mushrooms, we mimic the succulent pull of traditional proteins while providing a craggy surface area perfect for catching every drop of translucent red-orange sauce. This dish isn’t just a meal; it’s a sensory experience that rivals any classic Chinese buffet mushrooms you’ve ever tasted.
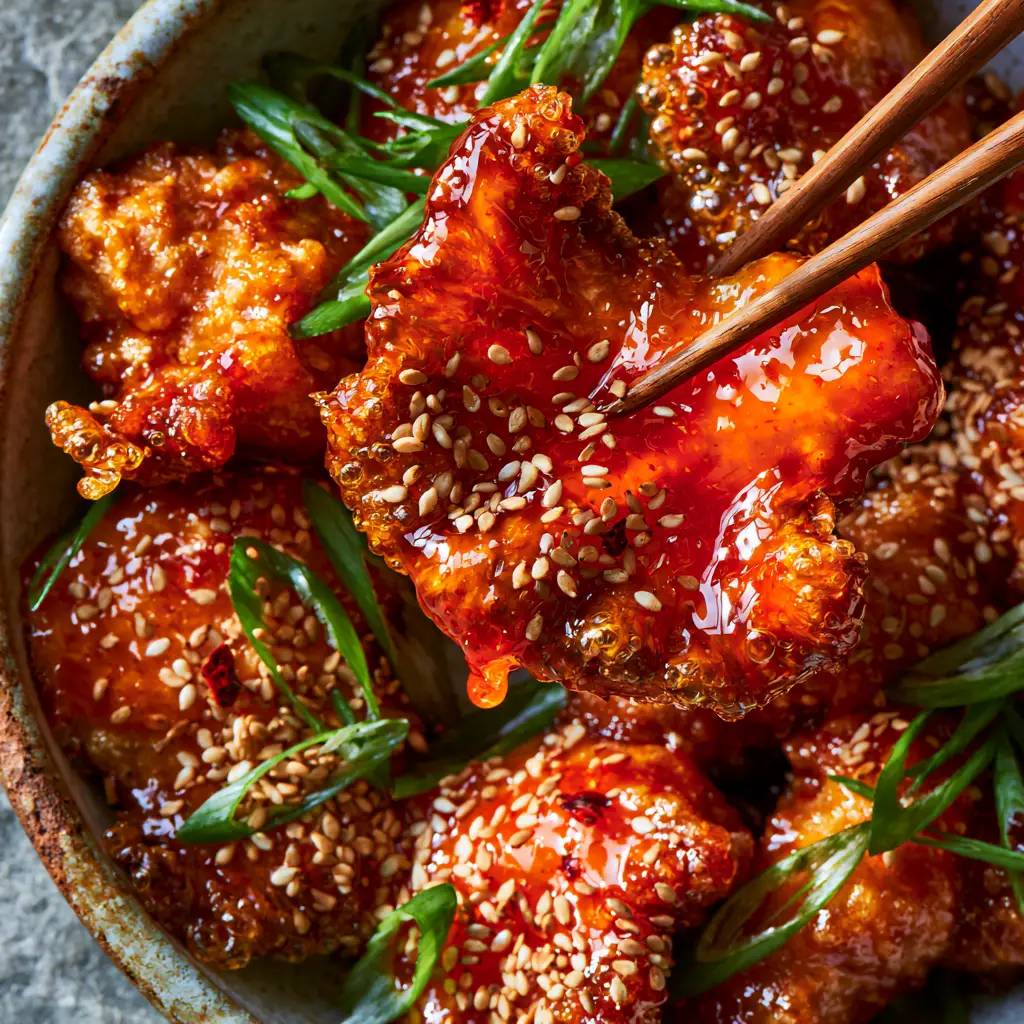
The Anatomy of a Perfect Golden-Brown Craggy Texture
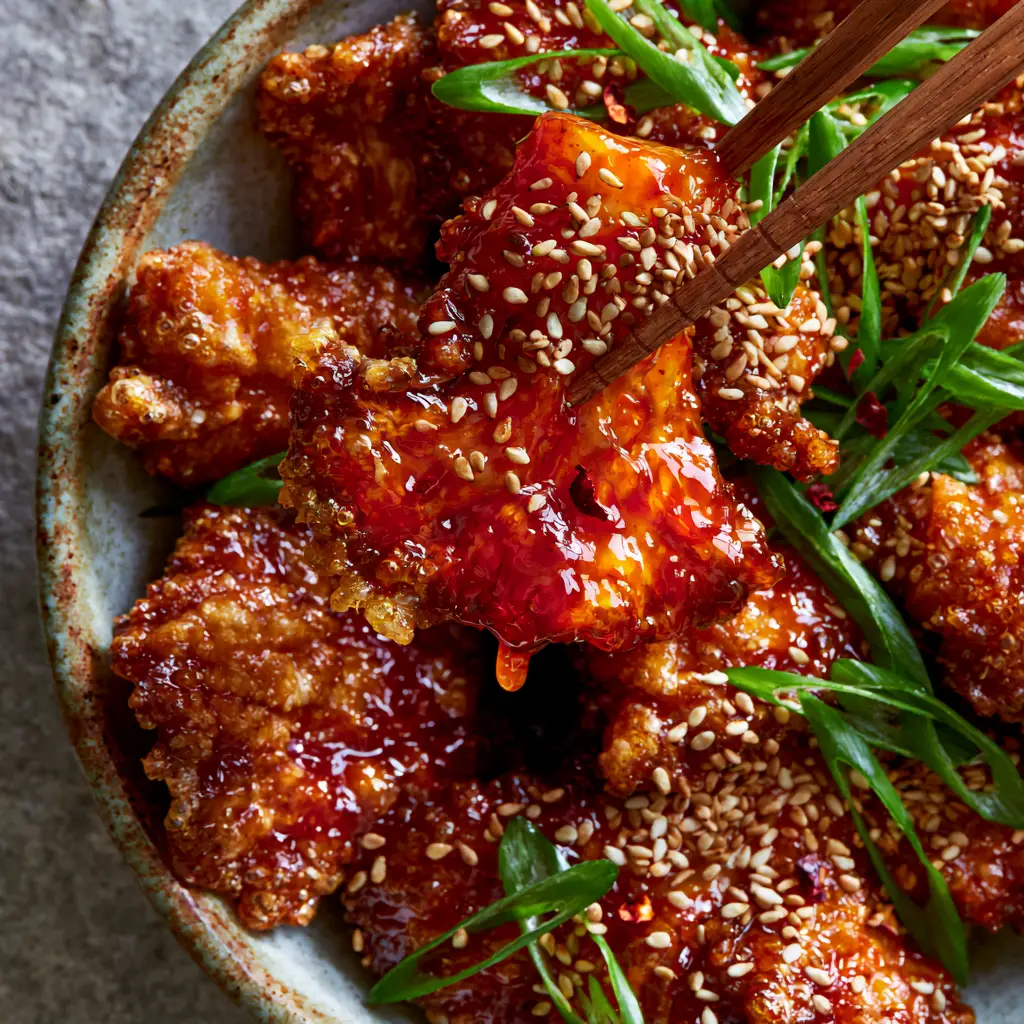
- The Double-Batter Defense: We utilize a specific wet-to-dry coating sequence to create a thick, craggy exterior that remains crisp even under a heavy glaze.
- Vibrant Translucent Glaze: A balanced reduction of rice vinegar, sugar, and aromatics creates a red-orange sauce that captures the light and clings to every crevice.
- Meaty Oyster Mushroom Base: Selected for their feathered edges, these mushrooms provide the ideal structural integrity for high-heat frying.
- Professional Garnish Profile: A heavy hand of toasted white sesame seeds, bright green scallions, and a whisper of red chili flakes provides the final layer of visual and flavor complexity.
The Essential Components for This Crispy Fungi Feast
Creating a masterpiece starts with understanding your medium. To achieve the results seen in our visual blueprint, each ingredient serves a scientific purpose in the frying and glazing process.
Fresh Oyster Mushrooms: 1 lb (450g). These mushrooms are the “steak” of the fungi world, offering a fibrous texture that holds up beautifully to the double-battering process.
All-Purpose Flour: 1 cup (125g). This provides the structural foundation for our batter, ensuring the coating doesn’t slide off the slick surface of the mushroom during frying.
Cornstarch (Corn Flour): 1 cup (120g). Cornstarch is the secret to that “shatter-crisp” texture; it inhibits gluten development, resulting in a lighter, crunchier shell than flour alone.
Baking Powder: 1 tsp (5g). This leavening agent creates the tiny bubbles and craggy edges visible in the glaze, increasing surface area for maximum sauce adhesion.
Soda Water (Cold): 1 cup (240ml). The carbonation in the water expands rapidly in the hot oil, puffing up the batter for a light, airy, and professional finish.
Neutral Frying Oil: 3 cups (710ml). Use an oil with a high smoke point, like canola or peanut oil, to achieve a deep golden-brown color without any burnt aftertaste.
Rice Vinegar: 1/2 cup (120ml). This provides the essential “sour” note, cutting through the richness of the fried coating and balancing the sweetness of the glaze.
Granulated Sugar: 1/2 cup (100g). Sugar is necessary not just for flavor, but for the “sticky” viscosity that allows the sauce to drip tantalizingly from your wooden chopsticks.
Ketchup: 1/4 cup (60g). This gives the glaze its iconic translucent red-orange hue and provides a boost of umami and acidity.
Toasted White Sesame Seeds: 2 tbsp (18g). These add a nutty aromatic finish and a visual contrast against the vibrant red sauce.
Fresh Green Scallions: 3 stalks. Sliced thinly on a bias, these provide a sharp, fresh “bite” to balance the deep-fried elements.
Dried Red Chili Flakes: 1 tsp (2g). A subtle heat that lingers on the palate, perfectly complementing the sweet and sour profile.
Must-Have Tools for the Home Chef
To replicate this sweet and sour mushroom recipe exactly, you will need a few key pieces of kitchen gear. A heavy-bottomed pot or wok is essential for maintaining consistent oil temperature during the frying process.
A wire spider strainer is highly recommended for lifting the delicate mushrooms out of the oil without breaking the craggy crust. Finally, a digital thermometer is your best friend here; ensuring your oil stays at exactly 350°F (175°C) is the difference between oily mushrooms and crispy perfection.
The Culinary Blueprint: Step-by-Step Execution
Preparing the Fungi Foundation
Begin by cleaning your oyster mushrooms with a damp paper towel. Avoid soaking them in water, as mushrooms are sponges and will become soggy, preventing that deep golden-brown sear we are looking for.
Tear the mushrooms into large, bite-sized clusters. You want them large enough to be substantial when lifted with wooden chopsticks, but small enough to cook through quickly in the hot oil.
Mastering the Double-Batter Technique
Set up a dredging station with two bowls. In the first bowl, whisk together half of your flour, half of your cornstarch, and the baking powder; in the second bowl, whisk the remaining dry ingredients with the ice-cold soda water until a thick, pancake-like batter forms.
Dip each mushroom cluster first into the dry mix, then into the wet batter, and then back into the dry mix. This “dry-wet-dry” sequence is the professional secret to achieving those bubbles and crisp edges seen in the visual prompt.
Achieving the Golden-Brown Fry
Heat your oil in a deep pot to 350°F (175°C). Carefully drop the battered mushrooms into the oil in small batches to avoid crowding, which can drop the temperature and lead to greasiness.
Fry for 3-4 minutes until the exterior is a deep, rustic golden-brown. You should see visible bubbles on the surface of the batter; use your spider strainer to move them around for even coloring.
Reducing the Translucent Red-Orange Glaze
In a separate large wok or skillet, combine the rice vinegar, sugar, ketchup, and a splash of soy sauce. Bring the mixture to a simmer over medium heat, whisking constantly until the sugar has dissolved and the sauce begins to thicken.
The goal is a thick, glossy consistency that captures the light. Once the sauce coats the back of a spoon and looks translucent, it is ready for the mushrooms.
The Final Toss and Garnish
Add the fried mushrooms to the wok with the glaze. Toss quickly and gently—you want every crag and crevice coated in the vibrant red-orange sauce without losing the underlying crunch.
Immediately transfer to a rustic ceramic bowl. Garnish heavily with the toasted white sesame seeds, thinly sliced green scallions, and the dried red chili flakes for that perfect top-down photo finish.
Expert Tips for the Crispiest Results
- Keep it Cold: Always use ice-cold soda water for your batter. The temperature difference between the cold batter and hot oil creates an immediate steam release, resulting in a lighter crust.
- Don’t Crowd the Pan: Frying in batches ensures the oil stays hot enough to “sear” the batter instantly, preventing oil absorption.
- The Sauce Timing: Only toss the mushrooms in the glaze right before serving. Even the best batter will eventually soften under the moisture of the sauce.
- Double Fry for Extra Crunch: For a truly “extreme” close-up texture, fry the mushrooms a second time for 60 seconds at 375°F (190°C) before glazing.
Maximizing Your Mushroom Experience
If you find yourself with leftover oyster mushrooms, they are incredibly versatile. You might explore making mushroom toast for breakfast or a hearty mushroom melt for lunch the next day.
This sweet and sour mushroom recipe stores reasonably well in an airtight container for up to 2 days. To reheat and restore the crunch, avoid the microwave; instead, use an air fryer or a 400°F (200°C) oven for 5 minutes.
Perfect Pairings for a High-Protein Dinner
To turn this into one of your favorite high-protein dinners, serve the mushrooms over a bed of quinoa or steamed jasmine rice. The grains will soak up any extra translucent glaze, making every bite flavorful.
For a lighter side, consider our cauliflower steaks recipe or a simple stir-fried bok choy. If you are looking for more seasonal inspiration, don’t miss our collection of january mushroom recipes to keep your plant-based cooking fresh all year long.
Common Questions About Sweet and Sour Fungi
Yes! Substitute the all-purpose flour with a 1:1 gluten-free flour blend and ensure your soy sauce is replaced with tamari. The cornstarch is already naturally gluten-free.
The key is to drain them on a wire rack rather than paper towels to allow air circulation, and only toss them in the glaze immediately before serving.
The base sauce is sweet and tangy. The heat comes purely from the dried red chili flake garnish, which you can adjust or omit to suit your preference.
The combination of baking powder and ice-cold soda water creates carbon dioxide bubbles that expand in the hot oil, creating that craggy, light exterior.
Oyster mushrooms are the superior choice because their feathered edges create a huge surface area for the batter to cling to, resulting in maximum crunch.
The Ultimate Sweet and Sour Mushroom Recipe
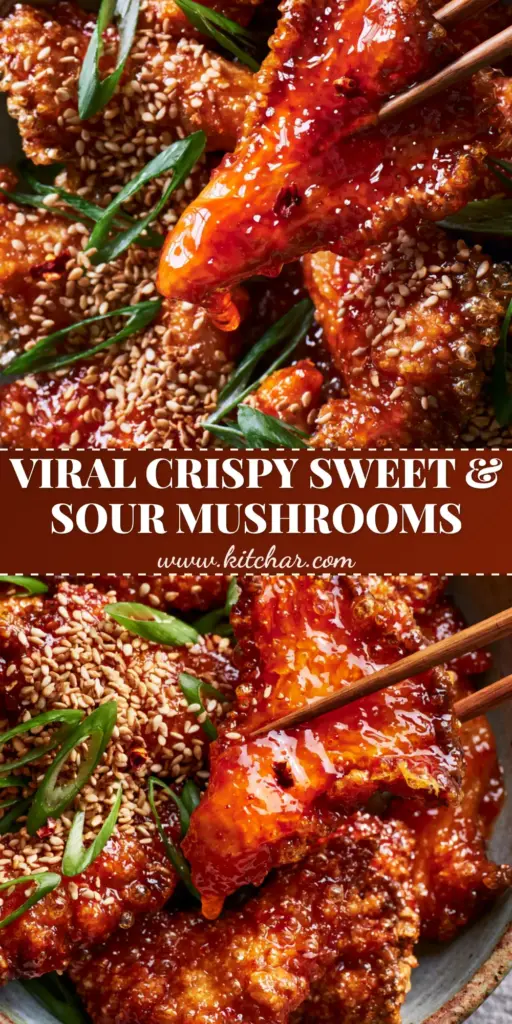
Sweet and Sour Mushroom Recipe: The Ultimate Crispy Double-Battered Oyster Mushrooms
Ingredients
Equipment
Method
- Clean the oyster mushrooms with a damp cloth and tear into large bite-sized clusters.
- In one bowl, mix half the flour and cornstarch with baking powder. In a second bowl, whisk the rest with cold soda water to form a wet batter.
- Dredge mushrooms in dry mix, dip in wet batter, then dredge in dry mix again for a craggy texture.
- Fry mushrooms in 350°F (175°C) oil for 3-4 minutes until deep golden-brown and crispy. Drain on a wire rack.
- In a wok, whisk rice vinegar, sugar, and ketchup. Simmer until it becomes a thick, translucent red-orange glaze.
- Quickly toss fried mushrooms in the glaze. Garnish with sesame seeds, scallions, and chili flakes.
Notes
Only toss in sauce right before serving to maintain maximum crunch.
Final Thoughts on This Crispy Classic
Mastering this sweet and sour mushroom recipe is a rite of passage for any home cook looking to elevate their plant-based game. The combination of the craggy, double-battered exterior and the glossy, vibrant glaze creates a dish that is as visually stunning as it is delicious. We hope this becomes a staple in your kitchen!
If you enjoyed this recipe, please leave a comment below and let us know how your crispy mushrooms turned out. Don’t forget to follow us on Pinterest and share your creations with the community! Sign up for our newsletter to get more easy mushroom recipes delivered straight to your inbox.