There is a specific culinary magic that happens when a vibrant, garden-fresh bell pepper meets a savory, high-protein filling and a blanket of molten cheese. These Stuffed Bell Peppers Recipes are designed to banish the memory of the watery, bland versions often found at potlucks. Instead, we are focusing on a high-heat roasting technique that ensures every bite is structurally sound and bursting with charred, caramelized flavor.
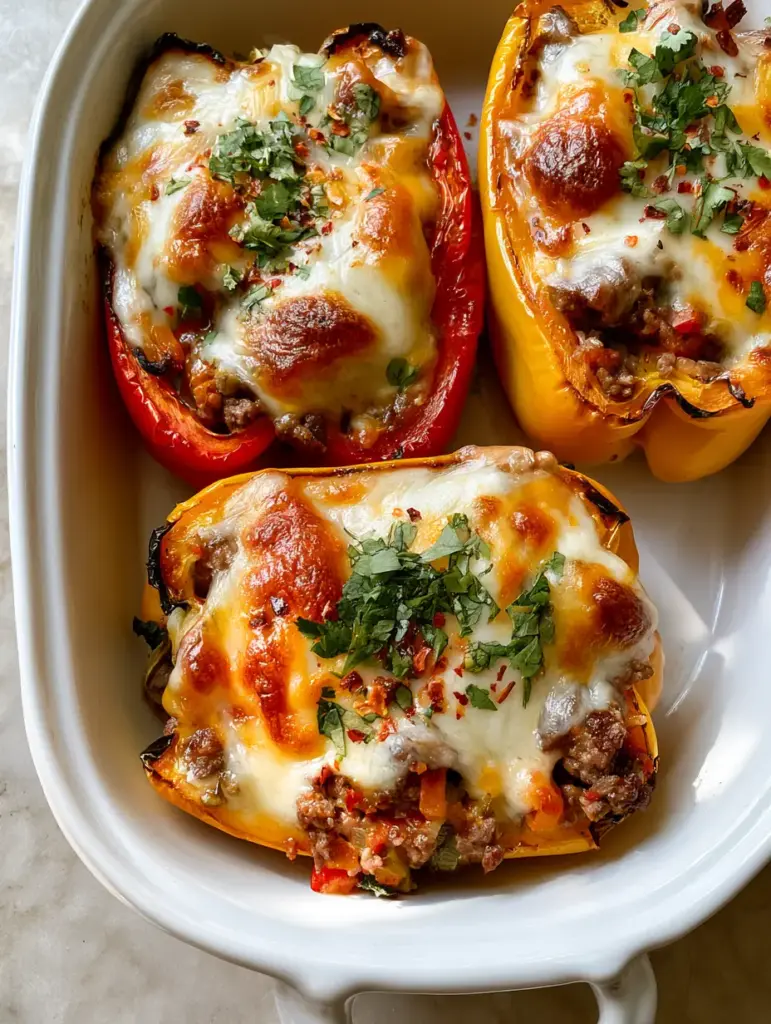
Imagine pulling a ceramic dish from your oven to find perfectly roasted red and yellow pepper shells, their edges slightly blackened and crisp. Inside, a hearty mixture of perfectly browned ground beef and finely diced vegetables awaits, topped with a thick layer of mozzarella and sharp cheddar that boasts beautiful golden-brown toasted spots. This is the visual and sensory standard we are aiming for in today’s kitchen session.
Whether you are looking for a weeknight staple or a meal-prep powerhouse, mastering these Stuffed Bell Peppers Recipes will elevate your dinner game. We have meticulously crafted this guide to ensure zero wateriness and maximum texture, using professional culinary cues to guide your every move. Let’s dive into the science of the perfect stuffed pepper.
Why This Is the Only Stuffed Pepper Recipe You Need
- Structural Integrity: By utilizing a moisture-free roasting method, our pepper shells remain firm and vibrant rather than collapsing into a soggy mess.
- Dual-Cheese Decadence: A blend of mozzarella for the “pull” and sharp cheddar for the “toast” creates that iconic bubbly, browned topping.
- Aromatic Depth: The combination of cracked black pepper, red pepper flakes, and fresh cilantro provides a layered heat and brightness that cuts through the rich beef filling.
- Visual Precision: This recipe is designed to match the high-end aesthetic of a professional kitchen, featuring slight charring on the pepper rims and “leopard spotting” on the cheese.
Essential Ingredients for Firm and Flavorful Peppers
To achieve the results seen in our visual guide, every ingredient serves a structural and flavor-based purpose. From the choice of beef to the specific variety of pepper, quality matters here.
Vibrant Red and Yellow Bell Peppers: 3 large (approx. 600g). These provide the sweet, sturdy vessel for our filling; we use red and yellow for the best visual contrast and natural sugar content for charring.
Lean Ground Beef (90/10): 1 lb (450g). A leaner beef ensures the peppers don’t become greasy while still providing the high-protein base necessary for a filling and satisfying meal.
Shredded Mozzarella Cheese: 1 cup (112g). Mozzarella provides the essential gooey, melty texture that creates a protective seal over the beef filling.
Sharp Cheddar Cheese: 1/2 cup (56g). Cheddar contains the fats and proteins that brown most effectively under the broiler, giving us those desired toasted golden spots.
Diced Aromatics (Onion and Garlic): 1 cup (150g). These are the “invisible” foundations that build savory depth within the browned beef mixture.
Extra Virgin Olive Oil: 2 tbsp (30ml). Necessary for searing the beef and coating the pepper shells to encourage even roasting and slight charring.
Red Pepper Flakes and Cracked Black Pepper: 1 tsp (2g) each. These provide a subtle, building heat that complements the sweetness of the roasted peppers.
Fresh Cilantro: 1/4 cup (10g), chopped. Added at the very end to provide a hit of herbaceous acidity and a bright green visual pop against the melted cheese.
The Professional Tool Kit
Achieving the perfect high-angle, “smartphone-photo-ready” finish requires the right equipment. You don’t need a professional kitchen, but these tools make the difference.
White Ceramic Baking Dish: A 9×13 inch (23×33 cm) dish is ideal. The ceramic holds heat evenly, which is crucial for browning the bottoms of the peppers without burning them.
Large Cast Iron or Stainless Steel Skillet: You need a heavy-bottomed pan to achieve a deep brown sear on the ground beef. If the pan is too thin, the beef will steam rather than brown.
Chef’s Knife and Cutting Board: Precision is key when dicing your vegetables to ensure they cook at the same rate as the beef.
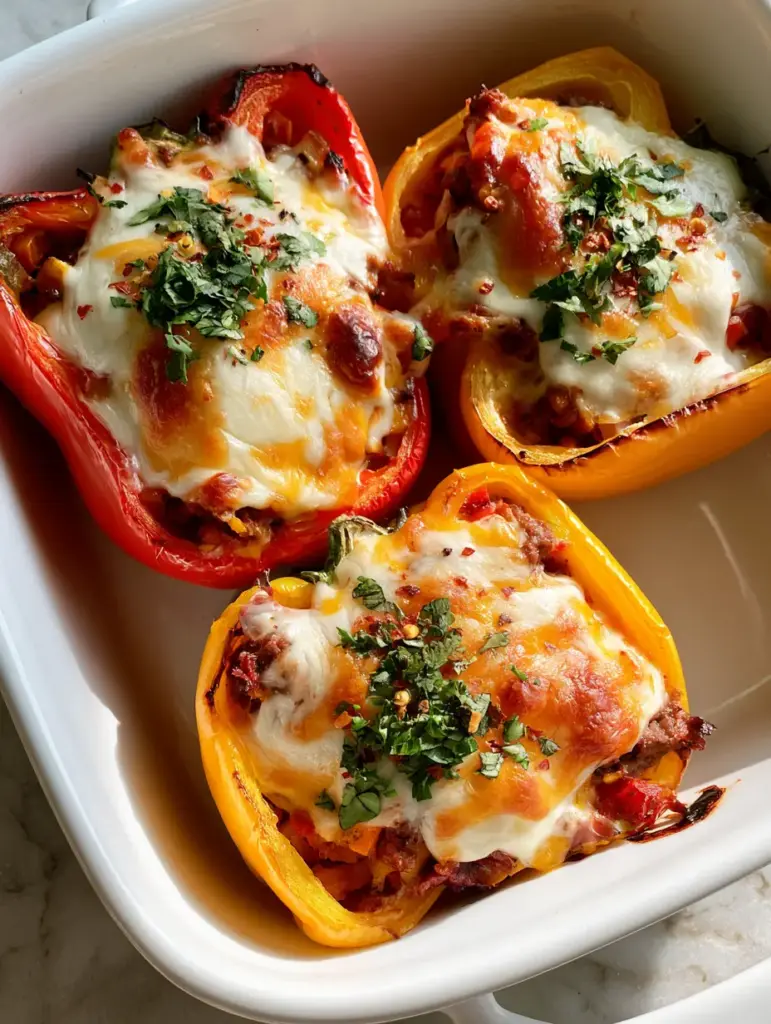
The Secret to Firm, Charred Pepper Shells
One of the biggest complaints with Stuffed Bell Peppers Recipes is the “soggy shell” syndrome. We solve this through a two-stage cooking process and moisture management.
Preparing the Pepper Vessels
Start by slicing your red and yellow bell peppers vertically through the stem. Remove the seeds and membranes carefully, ensuring you leave the stem intact for structural support.
Lightly coat the exteriors with olive oil and a pinch of salt. Place them cut-side up in your ceramic dish. Pre-roasting them for 10-12 minutes at 400°F (200°C) allows initial moisture to evaporate and begins the charring process on the edges before the filling is even added.
Searing the Beef Filling
While the peppers pre-roast, heat your skillet over medium-high heat. Add the ground beef, breaking it into small crumbles. Listen for the sizzle; if you don’t hear it, your pan isn’t hot enough.
Cook until the beef is deeply browned and no pink remains. Drain any excess fat—this is a critical step to ensure your peppers don’t become waterlogged. Stir in your diced onions and garlic, cooking until translucent and fragrant.
The Art of Stuffing and Topping
Fill each pre-roasted pepper half generously with the beef mixture. Press down slightly with the back of a spoon to ensure there are no air pockets. This density helps the peppers hold their shape.
Mix your mozzarella and sharp cheddar together. Mound the cheese high on each pepper. The cheddar’s higher oil content will drip down and season the beef, while the mozzarella creates the “gooey” factor we all crave.
Achieving the Perfect Golden-Brown Finish
Place the stuffed peppers back into the oven. Bake for another 15-20 minutes until the peppers are tender but still “firm to the tooth.” For the final flourish, turn on the broiler for 2-3 minutes.
Watch closely through the oven window. You are looking for the cheese to bubble vigorously and develop dark, toasted golden-brown spots. The edges of the peppers should show a slight, smoky char. This is the hallmark of professional Stuffed Bell Peppers Recipes.
Expert Tips for Recipe Success
- Wipe Your Peppers: Before oiling the peppers, make sure they are completely dry. Any surface water will create steam, preventing that beautiful char from forming.
- Don’t Overcrowd the Skillet: When browning the beef, do it in batches if necessary. Overcrowding drops the pan temperature, leading to grey, boiled-looking meat.
- The “Resting” Phase: Let the peppers sit for 5 minutes after coming out of the oven. This allows the cheese to set and the juices in the beef to redistribute, preventing a “runny” pepper.
- Fresh Garnish Timing: Always add your chopped cilantro and red pepper flakes *after* the peppers come out of the oven to preserve their color and volatile oils.
How to Store and Reheat Your Stuffed Peppers
These peppers are an excellent candidate for meal prep. Store them in an airtight container in the refrigerator for up to 4 days. They actually taste better the next day as the flavors in the beef filling have more time to meld.
To reheat, use an oven or air fryer at 350°F (175°C) for 10 minutes. This helps maintain the firmness of the pepper shell. Avoid the microwave if possible, as it can make the peppers soft and the cheese rubbery.
What to Serve With Cheesy Stuffed Peppers
To turn this into a full Mediterranean-inspired feast, consider pairing these peppers with a light, acidic side dish. A crispy cucumber salad provides a refreshing crunch that balances the richness of the beef and cheese.
If you want to keep the meal lower in carbs, these peppers stand alone beautifully as a high-protein bowl alternative. For those who want a bit more heartiness, a side of roasted gnocchi or a simple quinoa pilaf works wonders.
Frequently Asked Questions
Yes! You can assemble the peppers and store them in the fridge for up to 24 hours before baking. Just add 5-10 minutes to the baking time if cooking from cold.
No, boiling leads to a mushy texture. Instead, roast them at 400°F (200°C) for 10 minutes to achieve a firm but tender shell with beautiful charred edges.
Use the broiler for the last 2-3 minutes of cooking. Keep a close eye on them to ensure they reach a perfect toasted brown without burning.
The secret is two-fold: pre-roast the empty pepper halves to evaporate internal moisture and ensure you thoroughly drain the fat from the ground beef after browning.
A combination of mozzarella for a gooey melt and sharp cheddar for golden-brown toasted spots provides the best flavor and visual appeal.
The Master Stuffed Bell Peppers Recipe
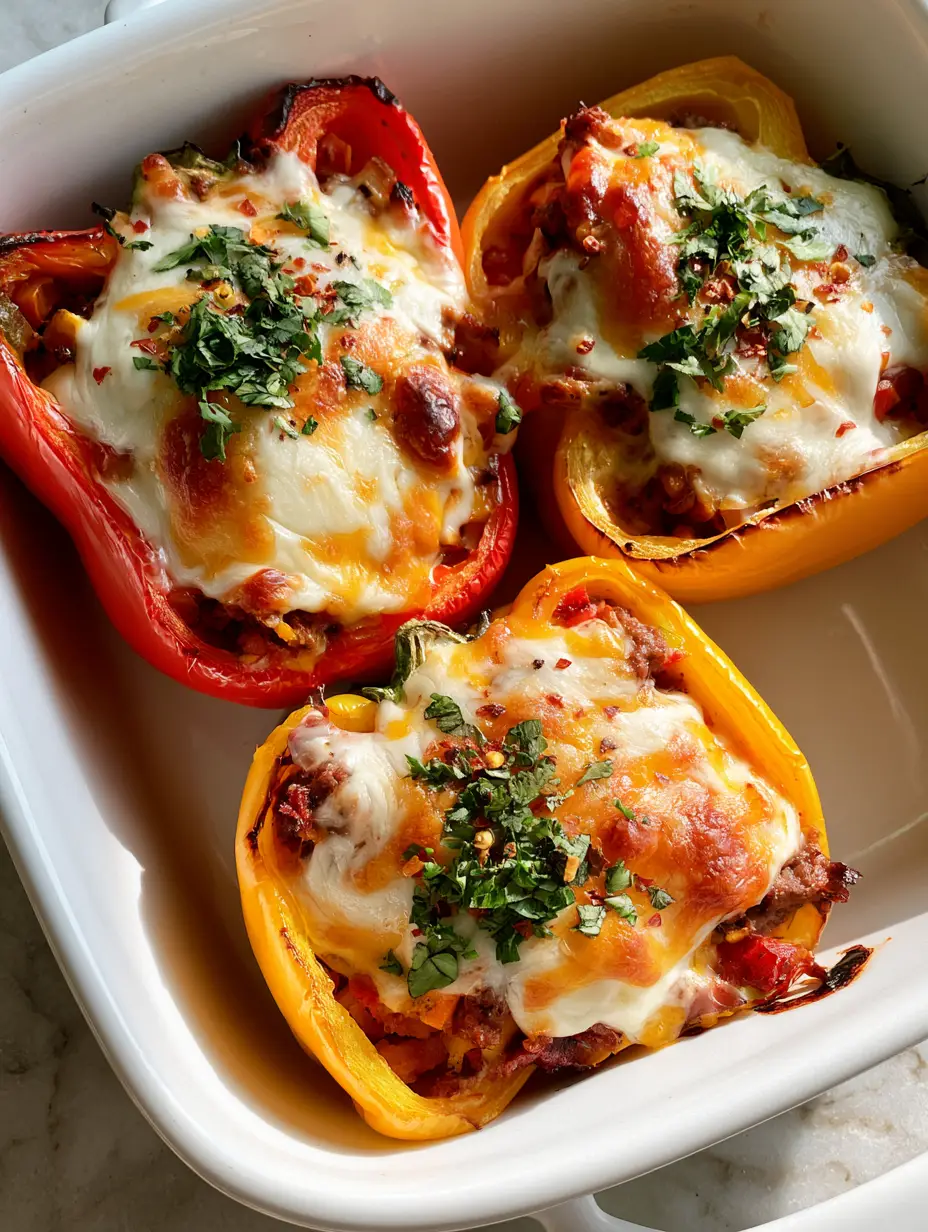
Stuffed Bell Peppers Recipes: The Ultimate Cheesy Ground Beef Guide
Ingredients
Equipment
Method
- Slice peppers vertically, remove seeds, and place in a white ceramic dish. Coat with oil and roast at 400°F (200°C) for 10-12 minutes until edges show slight charring.
- Sauté ground beef in a hot skillet until deeply browned. Drain excess fat. Add onions and garlic, cooking until translucent.
- Fill pepper halves with beef mixture. Top with a thick layer of mozzarella and cheddar cheese.
- Bake for 15-20 minutes. Finish under the broiler for 2-3 minutes until cheese has golden-brown toasted spots and peppers are firm but roasted.
- Sprinkle with fresh chopped cilantro, red pepper flakes, and cracked black pepper before serving.
Notes
Tip 2: Use a mix of mozzarella and cheddar for the best melt and color.
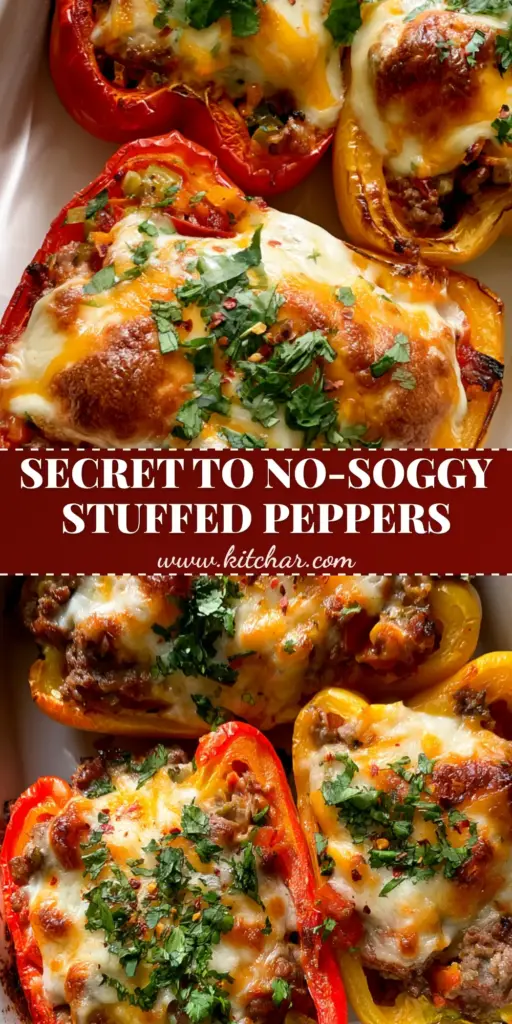
Bring the Bistro Home
Mastering Stuffed Bell Peppers Recipes is about more than just following steps; it is about understanding the balance of moisture, heat, and texture. By following this guide, you have created a dish that is as visually stunning as it is delicious—perfect for your next family dinner or a “grid-worthy” social media post.
If you enjoyed this recipe, please leave a comment below and let us know how your toasted cheese spots turned out! Don’t forget to save this to your favorite boards on Pinterest so you never lose this “firm shell” technique.