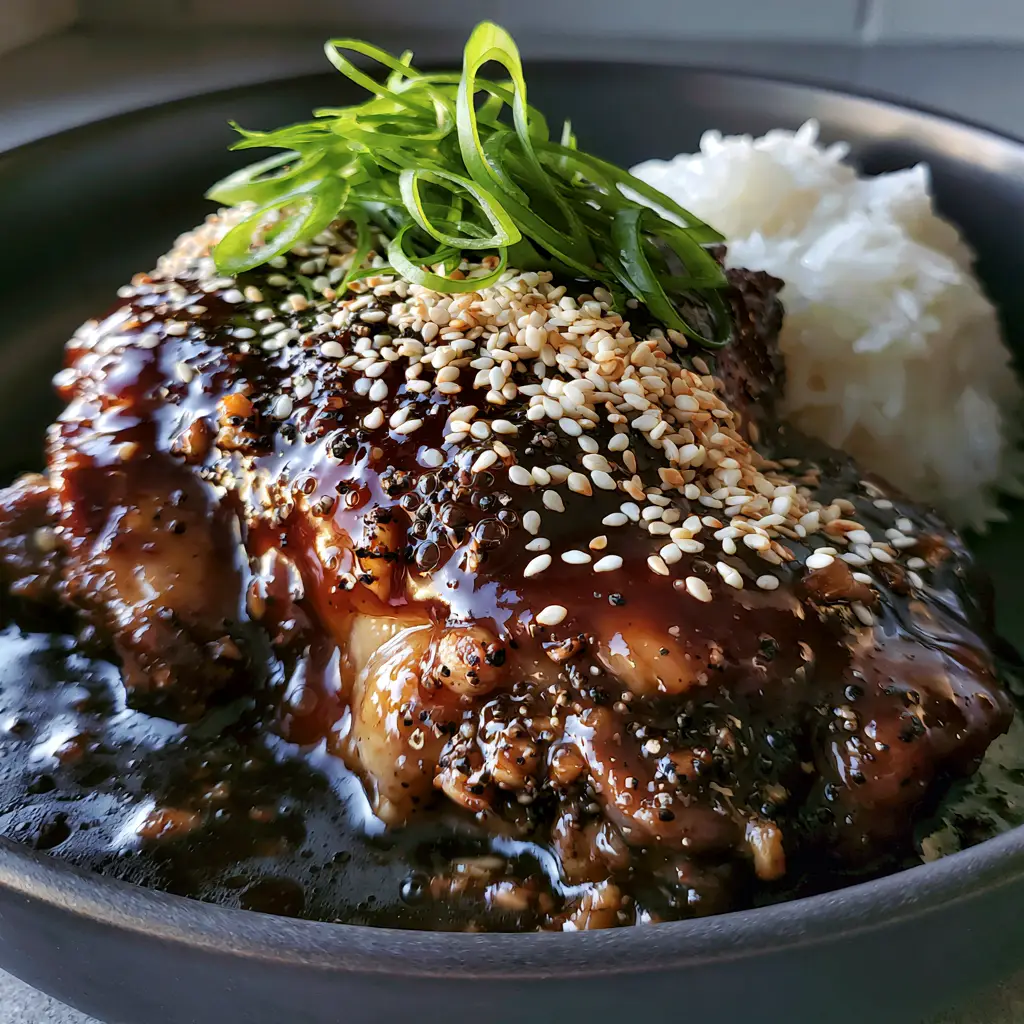
There is a specific kind of magic that happens when high-quality poultry meets the low, steady heat of a slow cooker. This Slow Cooker Sticky Honey Chicken isn’t just another weeknight meal; it is a masterclass in texture and visual appeal. Imagine opening your slow cooker to find succulent chicken thighs bathed in a thick, ultra-glossy, mahogany-colored glaze that catches the light like liquid amber.
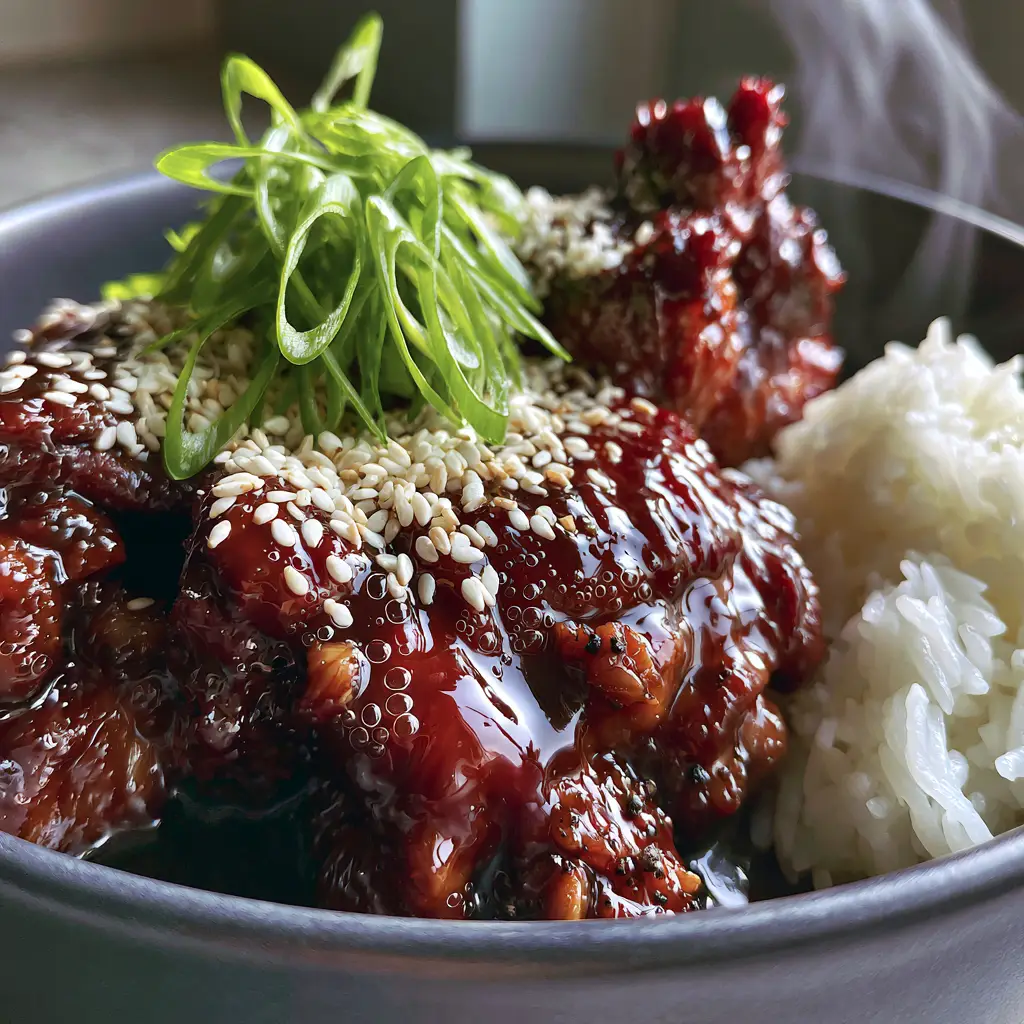
Inspired by the aesthetic of high-end, handheld food photography, this dish is designed to look as good as it tastes. We are moving beyond the watery sauces of typical crockpot recipes. We are aiming for that macro-shot perfection: visible bits of roasted garlic, micro-bubbles in the sauce, and a garnish of vibrant greens and toasted seeds that pop against a charcoal ceramic backdrop.
Whether you are a busy professional or a home cook looking to impress, this recipe delivers a restaurant-quality experience with minimal effort. The aroma of honey, soy, and garlic wafting through your kitchen in the soft morning window light is just the beginning of this culinary journey.
Why This Glossy Honey Garlic Chicken Works Every Time
- The Succulent Thigh Factor: Using bone-in or boneless chicken thighs ensures the meat remains tender and juicy, resisting the dryness often associated with breast meat in slow cookers.
- Maillard Reaction depth: By searing the chicken and “blooming” the garlic before slow cooking, we develop a deep mahogany color that a standard “dump and go” recipe simply cannot achieve.
- Viscosity Mastery: A dedicated reduction step at the end creates that signature “sticky” texture with micro-bubbles, ensuring the sauce clings to every fiber of the chicken.
- Visual Contrast: The interplay between the dark, rich sauce, the fluffy white jasmine rice, and the bright green scallions creates a dish that is a feast for the eyes before the first bite.
The Anatomy of the Ultimate Sticky Glaze: Essential Ingredients
To achieve the visual result described in our blueprint—a thick, mahogany-colored glaze—every ingredient serves a structural and aesthetic purpose. We aren’t just flavoring meat; we are building a sauce with body and sheen.
2 lbs (907g) Chicken Thighs: I recommend boneless, skinless thighs for ease of eating, though bone-in provides a deeper flavor. The higher fat content in thighs is what creates that “succulent” mouthfeel in the final photo.
1/2 cup (120ml) Raw Honey: Honey is the primary agent for the “sticky” factor. It provides the natural sugars necessary for the sauce to caramelize and achieve that brilliant gloss under diffused light.
1/2 cup (120ml) Low-Sodium Soy Sauce: This provides the salt and the dark pigment. Using low-sodium allows us to reduce the sauce heavily without it becoming over-salted.
6 cloves (30g) Fresh Garlic: We will mince these finely. Sautéing them briefly before adding them to the slow cooker ensures they become “roasted” and visible as tiny, flavor-packed flecks in the finished glaze.
1 tbsp (15ml) Rice Vinegar: A touch of acidity is required to cut through the heavy sugar of the honey, balancing the palate and brightening the mahogany color.
1 tsp (5g) Freshly Cracked Black Pepper: Large cracks of pepper are essential for the visual “macro” appeal. They provide texture and a sharp bite that contrasts the sweetness.
2 tbsp (16g) Cornstarch + 2 tbsp (30ml) Water: This “slurry” is the secret to the micro-bubbles. It thickens the sauce into a coat-the-back-of-the-spoon consistency.
Garnish Essentials: Toasted white sesame seeds and thinly sliced scallions are non-negotiable. They provide the “spray” of color and texture that defines the handheld photography style.
Professional Tools for Slow-Cooked Perfection
While the slow cooker does the heavy lifting, a few specific tools will help you achieve the “Visual Recipe Blueprint” results. A heavy-bottomed skillet is vital for the initial sear, as a slow cooker cannot reach the temperatures needed for the Maillard reaction.
You will also need a small whisk to ensure your cornstarch slurry is perfectly smooth. Any lumps in the slurry will ruin the “ultra-glossy” finish. Finally, serving in a matte charcoal ceramic bowl, as suggested in our prompt, provides the perfect color contrast for the mahogany chicken.
If you enjoy these types of hearty, flavor-forward meals, you might also want to try my Huli Huli Chicken for another take on sweet and savory poultry, or perhaps these Buffalo Chicken Bowls for a spicier weeknight alternative.
Phase 1: Searing and Prepping for Maximum Flavor
The “Hard Sear” Technique
Pat your chicken thighs bone-dry with paper towels. Season lightly with salt and heavily with that cracked black pepper. Heat 1 tbsp (15ml) of high-smoke-point oil in a skillet over medium-high heat. Sear the chicken for 3-4 minutes per side until a golden-brown crust forms; this “locks in” the juices and starts the color development.
Blooming the Roasted Garlic
Remove the chicken and lower the heat to medium. Add your minced garlic to the residual chicken fat. Sauté for only 60 seconds until fragrant and slightly golden. This “roasts” the garlic, ensuring it doesn’t just boil in the slow cooker but retains its distinct, nutty identity in the sauce.
Phase 2: The Slow Cook and Glaze Reduction
Setting the Slow Cooker
Place the seared chicken into the slow cooker. In a small bowl, whisk together the honey, soy sauce, rice vinegar, and the sautéed garlic bits. Pour this mixture over the chicken. Set your slow cooker to “Low” for 4-5 hours or “High” for 2-3 hours. You are looking for the chicken to be tender enough to yield to a fork but not completely falling apart.
Achieving the Mahogany Gloss
Once the chicken is cooked, carefully remove it and set it aside. Pour the liquid from the slow cooker into a small saucepan. Bring to a simmer over medium heat. Whisk in your cornstarch slurry. Watch for the “Visual Cue”: as the sauce boils, it will transform from a cloudy brown to a clear, shimmering mahogany. Look for those micro-bubbles—that’s the sign of a perfect reduction.
Expert Tips for the Ultimate “Foodie” Result
- Don’t Overcrowd the Skillet: When searing, give the chicken space. If the pan is too full, the chicken will steam instead of sear, losing that vital mahogany base color.
- Use Freshly Cracked Pepper: Pre-ground pepper disappears into the sauce. Large cracks of black pepper remain visible, adding to the “Culinary Forensics” of the dish.
- The Steam Factor: To get that “steam vapor” look in your photos, serve the jasmine rice piping hot. The contrast between the hot rice and the room temperature bowl creates the most visible steam.
- Toasting the Seeds: Take 2 minutes to toast your sesame seeds in a dry pan until they smell nutty. The color shift from stark white to a pale tan adds another layer of visual depth.
What to Serve with Sticky Honey Chicken
This dish is rich and bold, so it needs a neutral base to soak up that incredible glaze. A mound of fluffy jasmine rice is the classic choice. The starch in the rice balances the honey-garlic intensity perfectly.
If you’re looking for a fresher side to cut through the sweetness, a Simple Spinach Salad or a crisp Spinach Apple Chickpea Salad provides a wonderful textural contrast. For those following a lower-carb lifestyle, serving the chicken over Smashed Potatoes is a decadent alternative that still feels “gourmet.”
Storage, Reheating, and Freezing
Storage: Keep leftover chicken in an airtight container in the refrigerator for up to 4 days. The sauce will thicken further as it cools, turning into a jelly-like consistency.
Reheating: For the best results, reheat on the stovetop with a splash of water or chicken broth. This loosens the glaze and restores that “ultra-glossy” look. Microwaving works in a pinch, but do it in 30-second bursts to avoid “popping” the honey-based sauce.
Freezing: This recipe freezes beautifully! Place the cooked chicken and sauce in a freezer-safe bag for up to 3 months. Thaw overnight in the fridge before reheating according to the instructions above.
Frequently Asked Questions
Yes, but be careful not to overcook them. Breasts dry out faster in a slow cooker; I recommend checking them at the 3-hour mark on Low.
The deep color comes from a combination of searing the chicken first and using a quality soy sauce. A longer reduction on the stove also darkens the sugars in the honey.
The secret is the stovetop reduction. After slow cooking, simmer the sauce with a cornstarch slurry on the stove until it reaches a thick, glossy consistency.
Apple cider vinegar or white wine vinegar can be used in a 1:1 ratio, though rice vinegar provides the most authentic flavor profile.
A slow cooker traps steam, which thins the sauce. You must use a cornstarch slurry and reduce the sauce on the stove to achieve the ‘sticky’ texture.
The Complete Slow Cooker Sticky Honey Chicken Recipe
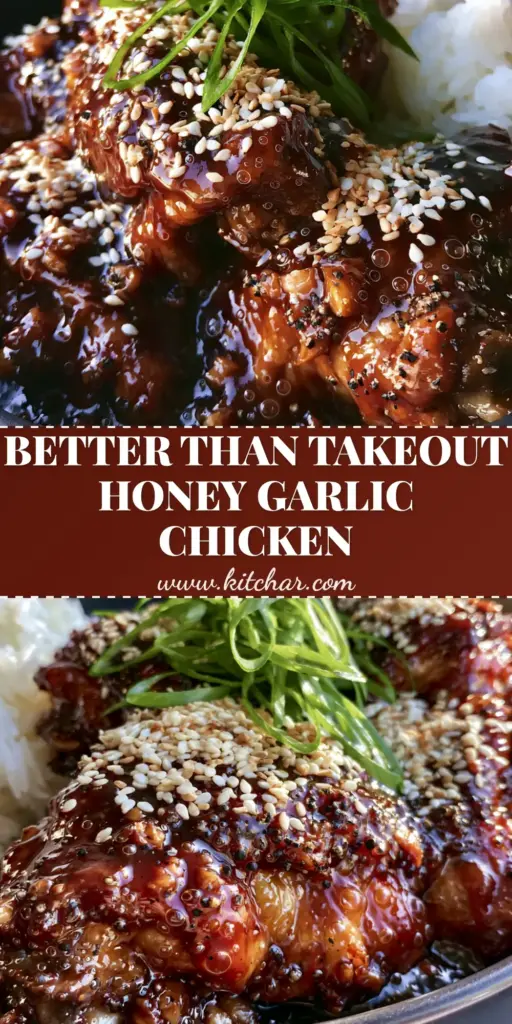
Slow Cooker Sticky Honey Chicken with a Glossy Mahogany Glaze
Ingredients
Equipment
Method
- Pat chicken thighs dry. In a hot skillet, sear chicken in oil for 3-4 minutes per side until a deep golden mahogany crust forms.
- Reduce heat, add minced garlic to the skillet, and sauté for 60 seconds until fragrant and golden but not burnt.
- Transfer chicken to the slow cooker. Whisk honey, soy sauce, vinegar, and garlic together; pour over chicken.
- Cover and cook on Low for 4-5 hours or High for 2-3 hours until succulent and tender.
- Remove chicken. Pour liquid into a saucepan. Whisk in cornstarch slurry and simmer until thick, glossy, and micro-bubbles appear.
- Coat chicken in glaze. Serve over steaming jasmine rice and top with sesame seeds and scallions.
Notes
Reduce the sauce on the stove to get that 'sticky' texture that a slow cooker can't reach.
Final Thoughts on This Slow Cooker Masterpiece
Mastering the Slow Cooker Sticky Honey Chicken is about more than just following steps; it’s about understanding the harmony of color, texture, and flavor. From the first sear of the thighs to the final sprinkle of scallions, every action contributes to a dish that is as visually stunning as it is delicious. This is the kind of recipe that turns a standard Tuesday night into a gourmet experience.
If you loved the glossy finish and deep flavors of this dish, please leave a comment below and let me know how it turned out! Don’t forget to share your creations and follow my latest kitchen adventures on Pinterest. Happy cooking!