There is a specific, undeniable magic that happens when high-heat cast iron meets the natural sugars of honey and the bright acidity of fresh citrus. These Spicy Honey Lime Chicken Thighs are the culmination of that culinary chemistry, delivering a dish that is as visually stunning as it is delicious.
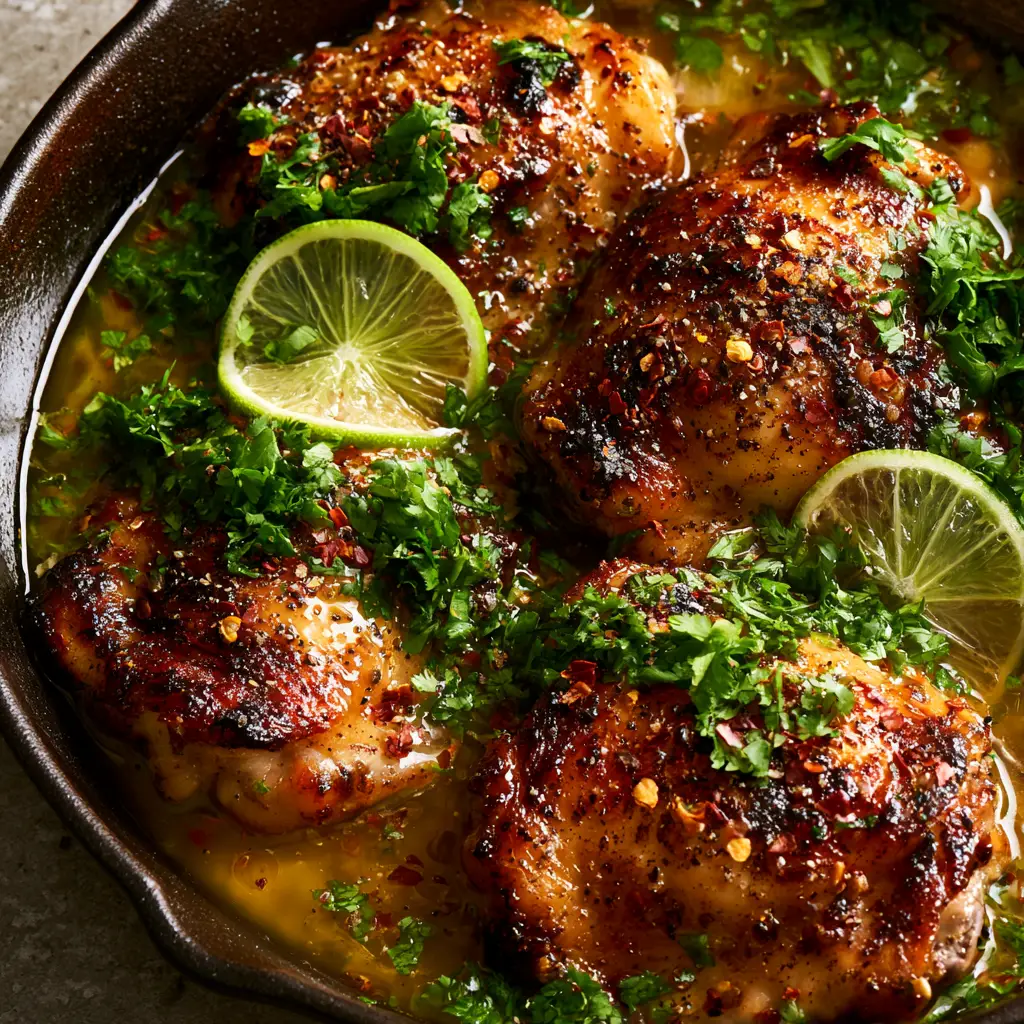
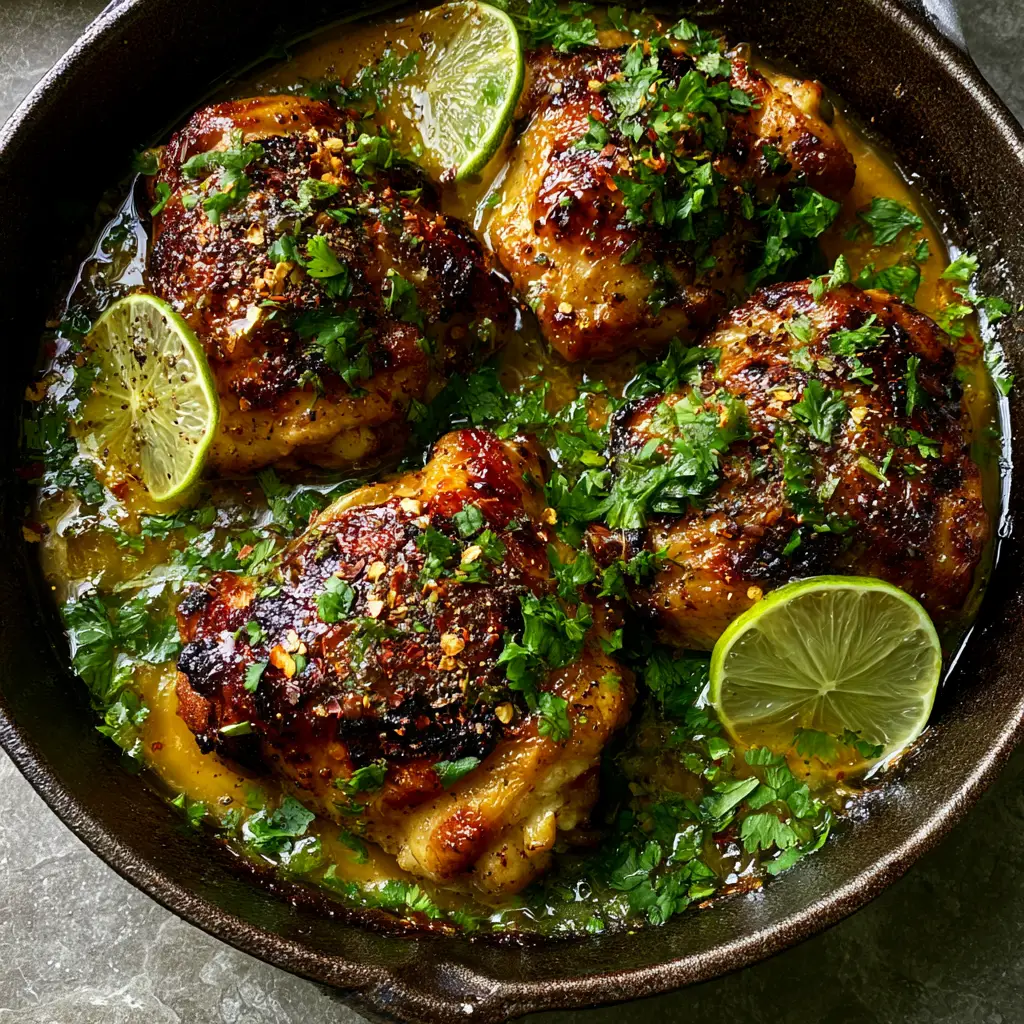
Picture this: skin-on chicken thighs seared until the edges are beautifully charred and crispy, then drenched in a thick, shimmering amber-colored glaze. The sauce pools slightly in a rustic dark skillet, reflecting the warm glow of your kitchen lights while the aroma of caramelized honey and toasted chili flakes fills the air.
Whether you are looking for a show-stopping weeknight meal or a new staple for your dinner rotation, this recipe bridges the gap between gourmet technique and home-cooked comfort. Every bite offers a perfect balance of heat, sweet, and tang, garnished with translucent lime slices and a heavy dusting of fresh herbs.
Why These Crispy Honey Lime Chicken Thighs Are a Total Game Changer
- The Perfect Texture Contrast: By using a cast iron skillet, we achieve ultra-crispy skin that stands up to the thick, glossy glaze without becoming soggy.
- Balanced Flavor Profile: The sweetness of the amber honey is cut sharply by fresh lime juice, while the red pepper flakes provide a lingering, sophisticated heat.
- Visually Stunning Presentation: With vibrant green cilantro, charred chicken edges, and glistening sauce, this dish looks like it stepped right off a professional food photography set.
- One-Pan Simplicity: We build the flavor layers in a single skillet, meaning the chicken fat renders down to become the base for our incredible honey-lime reduction.
The Essential Pantry Staples for a Shimmering Amber Glaze
To achieve the specific visual and flavor profile of these Spicy Honey Lime Chicken Thighs, we need a combination of fresh aromatics and foundational invisible ingredients. Each component serves a scientific purpose in the pan.
Skin-On, Bone-In Chicken Thighs: You need approximately 2 lbs (900g) of thighs. The skin is non-negotiable for achieving those crispy charred edges, while the bone ensures the meat remains succulent during the high-heat sear.
Raw Amber Honey: We use 1/2 cup (120ml) of high-quality honey. This provides the viscosity and the sugar required for the glaze to become thick and shimmering as it reduces.
Fresh Lime Juice and Zest: You will need 3-4 large limes. The juice (about 1/4 cup or 60ml) deglazes the pan, while the zest provides the essential oils that make the citrus flavor pop.
Red Pepper Flakes and Cracked Black Pepper: A generous 1 tsp (2g) of dried red pepper flakes provides the “spicy” element. We supplement this with a heavy dusting of freshly cracked black pepper for a multi-dimensional heat.
Neutral High-Smoke Point Oil: Use 2 tbsp (30ml) of avocado or grapeseed oil. Unlike butter, these oils won’t burn during the initial sear, allowing us to reach the temperatures needed for the Maillard reaction.
Unsalted Butter: We whisk in 2 tbsp (30g) of cold butter at the very end. This is the professional secret to a “glossy” finish, as the fats emulsify into the honey-lime mixture.
Fresh Cilantro: One large bunch, finely chopped. This provides a hit of cool freshness that cuts through the richness of the seared chicken and sweet glaze.
Pro-Level Kitchen Gear for the Perfect Skillet Sear
Achieving the “Extreme close-up” quality seen in our visual blueprint requires the right heat conductors. A 12-inch (30cm) cast iron skillet is the gold standard here.
Cast iron retains heat more efficiently than stainless steel or non-stick surfaces, which is crucial for creating that deep golden-brown charred crust. If you don’t have cast iron, a heavy-bottomed carbon steel pan is your next best bet.
You will also want a pair of sturdy stainless steel tongs for flipping the meat without tearing the skin. A microplane is essential for zesting the limes finely enough that they melt into the glaze rather than becoming bitter clumps.
Mastering the Sear: Step-by-Step Culinary Instructions
Phase 1: Prepping for Maximum Crispness
Start by patting your chicken thighs bone-dry with paper towels. Moisture is the enemy of the sear; any water left on the skin will create steam, preventing the edges from becoming charred and crispy.
Season the skin side generously with kosher salt and a heavy layer of cracked black pepper. Let the chicken sit at room temperature for about 15 minutes to ensure an even cook through the center of the meat.
Phase 2: Executing the High-Heat Sear
Place your cast iron skillet over medium-high heat and add the neutral oil. Wait until the oil is shimmering and just beginning to wisps a tiny bit of smoke.
Place the chicken thighs skin-side down in the skillet. Do not crowd the pan; if necessary, work in batches to maintain the heat. Press down slightly with your tongs to ensure maximum skin-to-metal contact.
Sear for 7-9 minutes without moving the chicken. You are looking for a specific sensory cue: the skin should naturally release from the pan and look deep golden-brown with visible charred edges.
Phase 3: Crafting the Spicy Honey Lime Glaze
Flip the chicken and cook for another 5-6 minutes until the internal temperature reaches 165°F (74°C). Remove the chicken from the pan and set it aside on a warm plate.
Drain all but 1 tbsp (15ml) of the rendered fat from the skillet. Lower the heat to medium and pour in the honey, lime juice, and red pepper flakes. Use a wooden spoon to scrape up any browned bits (the fond) from the bottom of the pan.
Simmer the sauce for 3-4 minutes. Watch for the visual cue: the bubbles should turn from thin and frothy to slow and viscous, indicating the water has evaporated and the glaze is thickening into a shimmering amber syrup.
Phase 4: The Final Glaze and Garnish
Whisk in the cold butter until melted and glossy. Return the chicken to the skillet, skin-side up, and spoon the bubbling glaze over the top until it is drenched and glistening.
Arrange your thin, translucent lime slices between the chicken thighs. Garnish heavily with the chopped cilantro and an extra pinch of red pepper flakes for that signature spicy look.
Chef’s Secrets for Extra Crispy Skin and Glossy Sauce
- Cold Butter Emulsion: Never melt the butter before adding it to the sauce. Adding cold butter cubes at the end creates a silky, thick emulsion that clings to the meat rather than running off.
- Don’t Flip Too Early: Patience is the most important ingredient. If the skin is sticking to the cast iron, it’s not ready to flip. Wait for the Maillard reaction to do its work.
- Acid Balance: If your glaze feels too cloying or sweet, add an extra squeeze of fresh lime right before serving. The acid brightens the entire profile instantly.
- The “Sizzle” Sound: Listen to your pan. A constant, high-pitched sizzle means you are searing; a bubbling, wet sound means you have too much liquid and need to turn up the heat.
Proper Storage and Reheating for Meal Prep
While these Spicy Honey Lime Chicken Thighs are best served fresh from the skillet to preserve the skin’s texture, they do store remarkably well. Place leftovers in an airtight container for up to 4 days.
To reheat, avoid the microwave as it will turn the skin rubbery. Instead, place the chicken in a small baking dish, spoon over any leftover glaze, and heat in a 350°F (175°C) oven until warmed through and the glaze is bubbling again.
You can also freeze these for up to 3 months. Thaw overnight in the refrigerator before following the oven-reheating method described above.
Best Side Dishes to Pair with Spicy Chicken
Because the honey-lime glaze is so flavorful, you want side dishes that can soak up that shimmering amber sauce. A bed of fluffy white rice or a side of savory fried rice works beautifully.
For a lighter option, serve this over a fresh burrito bowl with black beans and corn. The acidity of the lime in the chicken complements the earthy tones of the beans perfectly.
If you are looking for more healthy dinner inspiration, consider pairing the thighs with a crisp green salad or some grilled asparagus. If you love this citrus profile, you will also likely enjoy our classic cilantro lime chicken.
Your Burning Questions Answered
You can use a heavy stainless steel pan, but avoid non-stick skillets for this recipe as they cannot handle the high heat required for the signature charred edges.
Yes, but you will need to adjust the cooking time significantly as breasts dry out faster. Sear for 5-6 minutes per side and use a meat thermometer to ensure they don’t exceed 165°F (74°C).
Allow the honey and lime mixture to simmer for an extra 2-3 minutes before adding the chicken back. The water must evaporate for the glaze to become syrupy and shimmering.
It has a moderate kick from the red pepper flakes. If you prefer a milder version, reduce the flakes to 1/2 teaspoon or omit them entirely, focusing on the honey and lime profile.
This usually happens if the chicken wasn’t dried properly before cooking or if the pan wasn’t hot enough. Always pat the skin dry and wait for the oil to shimmer before adding the meat.
The Full Spicy Honey Lime Chicken Thighs Recipe Card
Spicy Honey Lime Chicken Thighs with Crispy Charred Skin
Ingredients
Equipment
Method
- Pat the chicken thighs bone-dry with paper towels to ensure a crispy sear. Season skin-side heavily with salt and cracked black pepper.
- Add oil to a cast iron skillet over medium-high heat until it shimmers and just starts to smoke.
- Place thighs skin-side down. Cook for 7-9 minutes undisturbed until edges are charred and skin is deep golden-brown.
- Flip the chicken and cook for 5-6 more minutes until internal temperature reaches 165°F (74°C). Remove chicken and set aside.
- Wipe out excess fat, then add honey, lime juice, and red pepper flakes. Simmer for 3-4 minutes until the sauce is thick and amber-colored.
- Whisk in cold butter until glossy. Return chicken to pan and spoon glaze over the top.
Notes
Adding cold butter at the end is the secret to a shimmering, thick glaze.

Join Our Community of Home Cooks
If you made these Spicy Honey Lime Chicken Thighs and loved the result, please leave a comment and a star rating below! Your feedback helps other home cooks find success in the kitchen.
Don’t forget to snap a photo of your glistening cast iron skillet and share it with us on social media. For more visual inspiration and to save this recipe for later, follow us on Pinterest.
Sign up for our newsletter to receive weekly recipe developers’ tips and exclusive content designed to turn your kitchen into a five-star bistro.