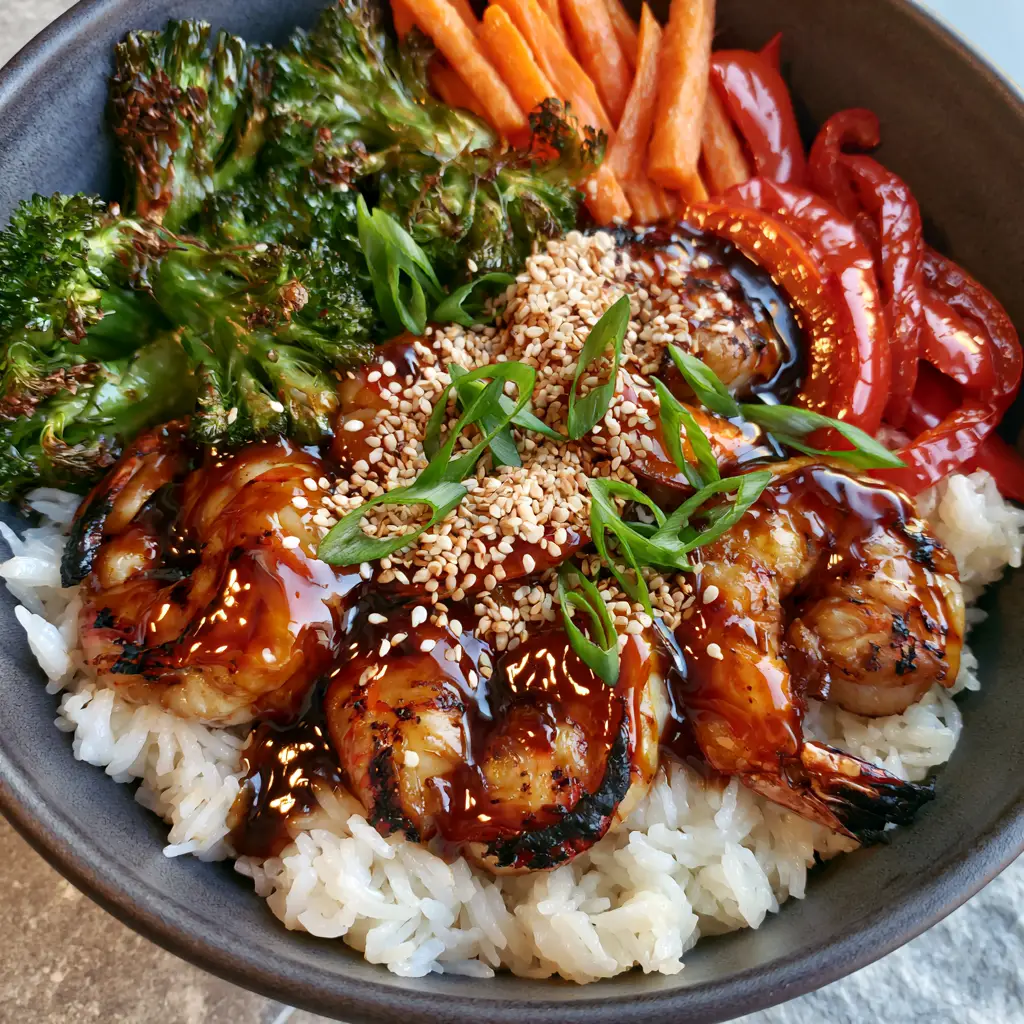
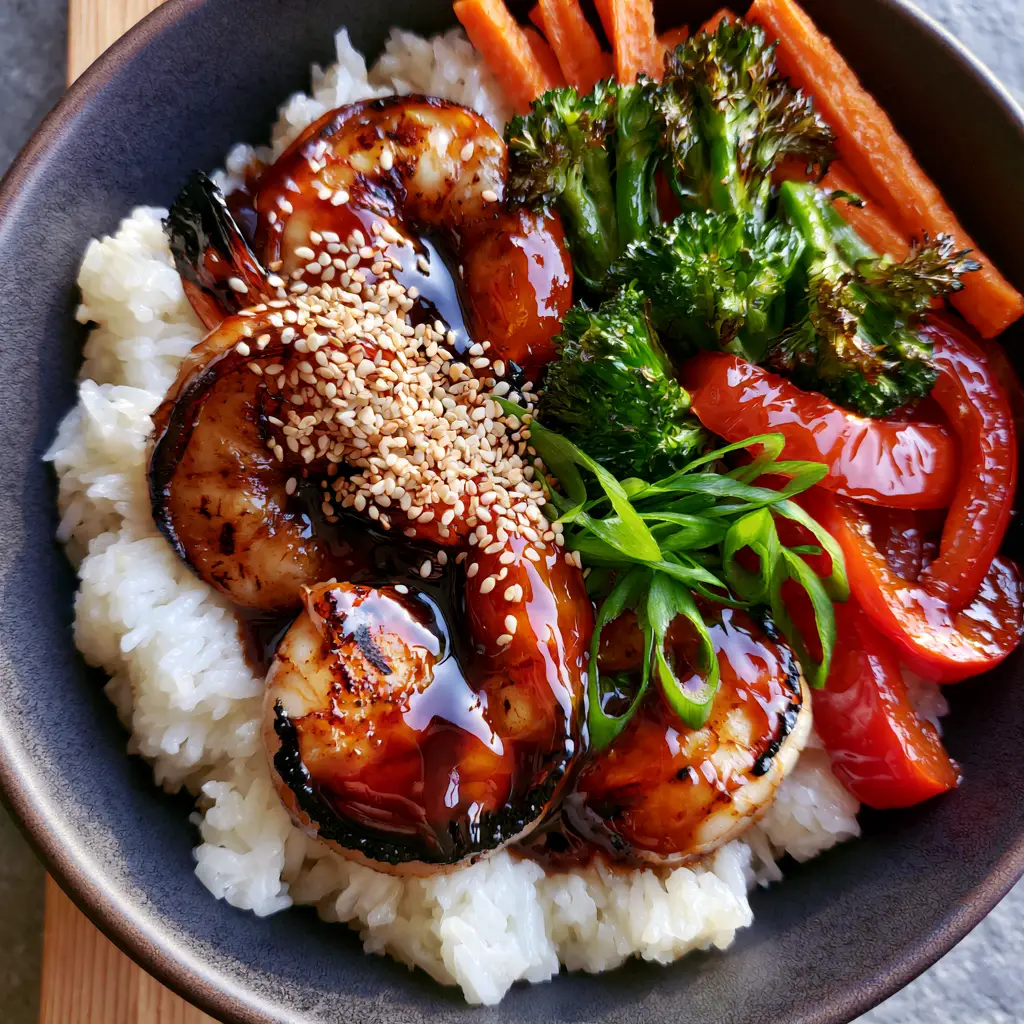
These Teriyaki Shrimp Rice Bowls are the absolute pinnacle of weeknight luxury, combining the ease of a quick stir-fry with the visual sophistication of a high-end restaurant dish. If you are scrolling through Pinterest looking for a meal that hits the trifecta of healthy, fast, and visually stunning, you have arrived. Every bowl features succulent, seared jumbo shrimp drenched in a thick, glistening dark amber glaze, served over a bed of steaming jasmine rice.
The magic of these Teriyaki Shrimp Rice Bowls lies in the contrast of textures. You get the crunch of blistered broccoli florets, the snap of tender matchstick carrots, and the sweetness of sliced red bell peppers, all tied together by the umami-rich sauce. Unlike soggy takeout, this recipe prioritizes high-heat techniques to ensure every element retains its integrity and vibrant color.
Why You Will Crave These Teriyaki Shrimp Rice Bowls
- High-Gloss Finish: The homemade teriyaki glaze creates a thick, viscous coating that clings to the shrimp, rather than pooling at the bottom of the bowl.
- Charred Perfection: By searing the shrimp at high temperatures, we achieve those gourmet charred edges that provide a smoky depth to the sweet sauce.
- Texture Variety: From the fluffy jasmine rice to the toasted white sesame seeds, every bite offers a different sensory experience.
- Meal-Prep Friendly: These bowls hold up beautifully in the fridge, making them a top choice for a high-protein lunch the next day.
The Essential Ingredients for Gourmet Rice Bowls
To achieve the Visual Recipe Blueprint we’ve laid out, each ingredient serves a specific culinary purpose. We aren’t just making a meal; we are building a masterpiece of flavor and color.
The Seafood & Base
Jumbo Shrimp: You want 16/20 count shrimp for the best visual impact. These are large enough to develop a deep sear without overcooking the center. Ensure they are peeled and deveined, but you can leave the tails on for a more “gourmet” presentation if preferred.
Jasmine Rice: This long-grain variety offers a floral aroma and a slightly sticky texture that acts as the perfect vehicle for the teriyaki sauce. Use 2 cups (370g) of dry rice to yield enough for four generous servings.
The Vibrant Vegetable Medley
Broccoli Florets: We are looking for 2 cups (150g) of small florets. These will be blistered in a hot pan to maintain a bright green hue and a crisp-tender bite.
Matchstick Carrots: Also known as julienned carrots, these 1 cup (110g) of slivers cook almost instantly, adding a natural sweetness and a pop of orange color.
Red Bell Peppers: One large pepper, thinly sliced, provides a glossy red contrast and a refreshing crunch that cuts through the rich glaze.
The “Liquid Gold” Teriyaki Glaze
Soy Sauce & Brown Sugar: The foundation of the glaze. We use 1/2 cup (120ml) of low-sodium soy sauce to control the saltiness while the 1/4 cup (50g) of brown sugar creates that signature amber sheen.
Ginger & Garlic: Freshly grated is non-negotiable here. They provide the aromatic backbone that distinguishes a homemade sauce from a bottled one.
Cornstarch Slurry: A mix of 1 tablespoon (8g) cornstarch and 2 tablespoons (30ml) cold water is what transforms the thin liquid into a thick, viscous glaze.
Step-by-Step Instructions for the Perfect Sear
Step 1: The Aromatic Jasmine Rice
Begin by rinsing 2 cups (370g) of jasmine rice under cold water until the water runs clear. This removes excess starch, ensuring your steaming white jasmine rice is fluffy and not gummy. Combine with 2.5 cups (600ml) of water and a pinch of salt. Bring to a boil, then reduce to a low simmer, covered, for 15 minutes. Let it sit for 5 minutes before fluffing with a fork.
Step 2: Blistering the Vegetables
Heat 1 tablespoon (15ml) of high-smoke point oil (like avocado or vegetable oil) in a large cast-iron skillet or wok over medium-high heat. Add the broccoli florets and sliced red bell peppers. Do not crowd the pan. Let them sit undisturbed for 2 minutes to achieve those vibrant green blistered marks. Toss in the matchstick carrots for the final 60 seconds. Remove and set aside.
Step 3: Searing the Jumbo Shrimp
In the same hot pan, add another tablespoon of oil. Pat your jumbo shrimp completely dry with paper towels—this is the secret to visible sear marks and charred edges. Season lightly with salt. Place the shrimp in a single layer. Sear for 2 minutes per side until they form a golden-brown crust and are opaque throughout. If you enjoyed the sear on these, you should also try our Shrimp and Avocado Bowls for a different flavor profile.
Step 4: The Glaze Reduction
Lower the heat to medium. Pour in your mixture of soy sauce, brown sugar, grated ginger, and minced garlic. As it begins to bubble, whisk in the cornstarch slurry. Stir constantly for 1-2 minutes until the sauce transforms into a thick, glistening dark amber teriyaki glaze. Return the shrimp and vegetables to the pan, tossing gently to coat every surface.
Expert Tips for Pinterest-Worthy Results
- Dry the Shrimp: Moisture is the enemy of the sear. If the shrimp are wet, they will steam instead of charring. Always pat them dry.
- High Heat is Key: To get those blistered broccoli florets, the pan must be piping hot before the vegetables hit the surface.
- The Slurry Secret: Never add dry cornstarch directly to a hot liquid, or it will clump. Always mix it with cold water first.
- Garnish Generously: A heavy dusting of toasted white sesame seeds and a scattering of bright green scallions provides the professional finish seen in our Teriyaki Shrimp Rice Bowl photography.
Storage, Reheating & Freezing
Storage: Store leftovers in an airtight container in the refrigerator for up to 3 days. Keep the rice and the shrimp/veggie mixture in separate compartments if possible to maintain the rice’s texture.
Reheating: For the best results, reheat the shrimp and vegetables in a skillet over medium heat with a splash of water to loosen the glaze. The rice can be microwaved with a damp paper towel over the top to keep it steaming and soft.
Freezing: While the shrimp and sauce freeze well for up to 2 months, we recommend making fresh rice upon thawing, as frozen rice can often become grainy.
What to Serve With Your Teriyaki Bowls
While these Teriyaki Shrimp Rice Bowls are a complete meal on their own, you can expand the spread with these additions:
- A side of Sautéed Vegetables for extra fiber.
- Crispy Parmesan Asparagus Fries for a fusion twist.
- If you want to keep the bowl theme going, consider our Hibachi Steak Bowls for the meat-lovers in your family.
Frequently Asked Questions
Yes, but ensure they are completely thawed and patted extremely dry with paper towels. If they are wet, they will steam instead of getting those signature charred edges.
Use a very hot pan with a small amount of oil. Let the broccoli sit undisturbed for 2 minutes to get the char, then toss quickly. This keeps it bright green and crisp-tender.
The secret is the cornstarch slurry. Ensure you simmer the sauce for at least 1-2 minutes after adding the slurry to allow the heat to activate the thickening properties of the starch.
To make this recipe gluten-free, simply swap the soy sauce for Tamari or coconut aminos. All other ingredients are naturally gluten-free.
Jasmine rice is preferred for its floral aroma and slightly sticky texture, but Basmati or even brown rice works well if you prefer a nuttier flavor.
Ready to Make These Teriyaki Shrimp Rice Bowls?
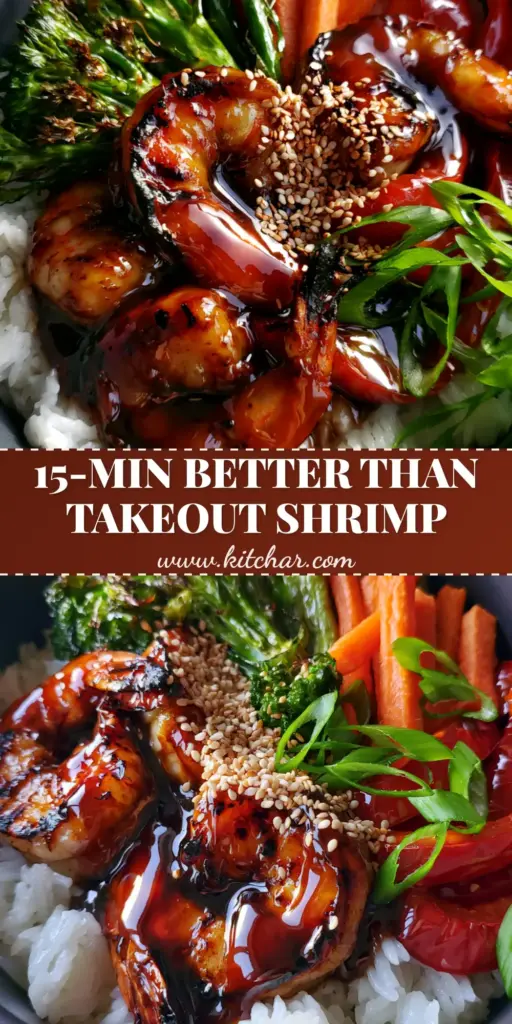
Follow the detailed recipe card below to bring this visual masterpiece to your kitchen table. The combination of the thick glossy teriyaki glaze and the tender matchstick carrots is guaranteed to become a family favorite.
Teriyaki Shrimp Rice Bowls: The Ultimate 20-Minute Gourmet Dinner
Ingredients
Equipment
Method
- Combine rinsed jasmine rice and water in a saucepan. Bring to a boil, cover, and simmer for 15 minutes. Fluff with a fork.
- Heat oil in a skillet over medium-high. Add broccoli and red peppers, letting them sit for 2 minutes to blister. Add carrots for 1 minute, then remove.
- Pat shrimp dry. In the hot skillet, sear shrimp for 2 minutes per side until charred edges appear and they are cooked through.
- Add soy sauce, sugar, ginger, and garlic to the pan. Whisk in cornstarch slurry. Stir until thick and glossy. Return shrimp and veg to the pan to coat.
Notes
Use a cast-iron skillet for the best blistered effect on the broccoli.
Share Your Culinary Creations!
Did you achieve those perfect charred edges on your shrimp? We want to see! Save this recipe to your “Easy Weeknight Dinners” board on Pinterest so you never lose it. If you made this, please leave a 5-star rating in the recipe card above and drop a photo of your bowl in the comments below. For more inspiration, check out our Chili Lime Shrimp Bowls!