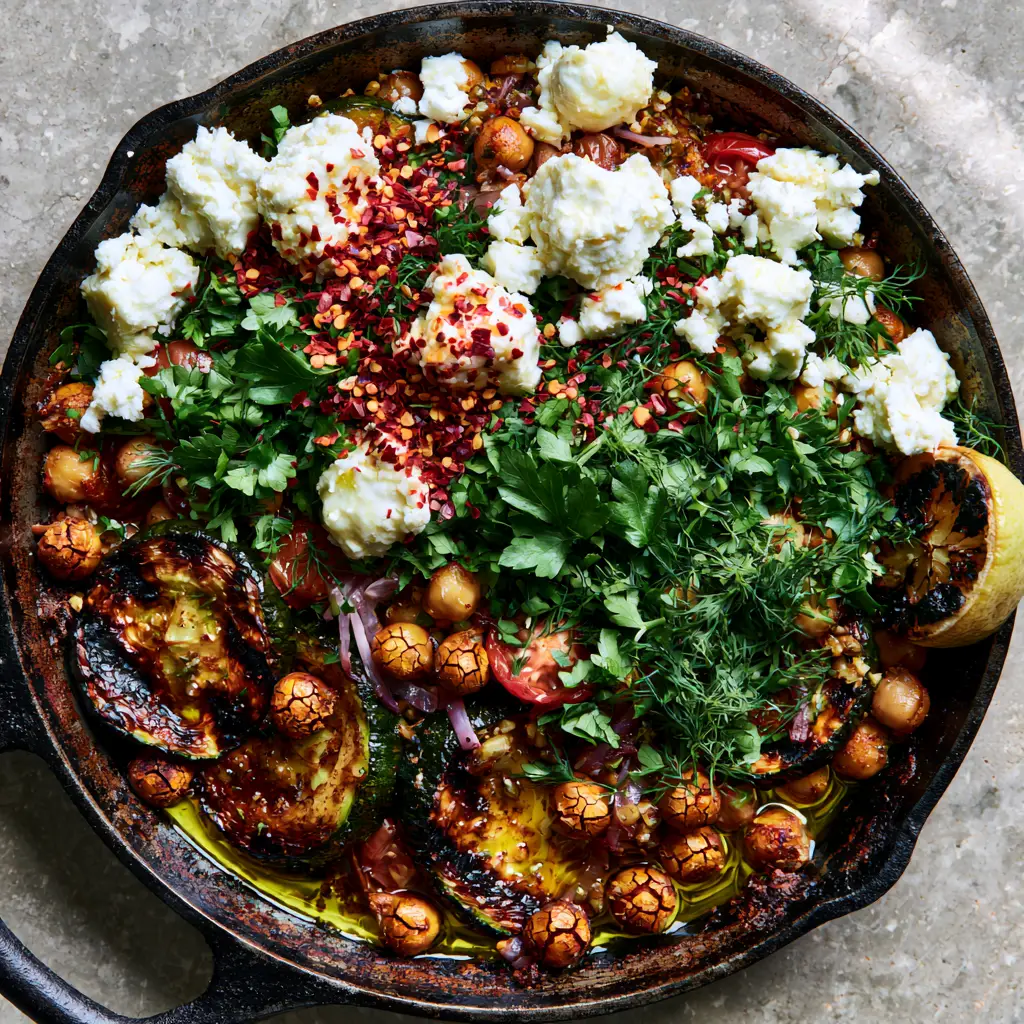
This Zucchini Chickpea Skillet is the ultimate 20-minute Mediterranean meal that proves healthy eating never has to be boring. Imagine thick, tender zucchini rounds with deep caramelized char marks nestled against protein-packed chickpeas that have been pan-roasted until their exteriors are perfectly crispy and slightly cracked. This vibrant skillet is a symphony of textures, featuring burst cherry tomatoes, softened red onion slivers, and a heavy garnish of creamy feta cheese.
Whether you are looking for a quick weeknight dinner or a meal-prep-friendly lunch, this Zucchini Chickpea Skillet delivers high-impact flavor with minimal cleanup. The secret lies in the high-heat sear and the final drizzle of golden extra virgin olive oil that ties the earthy dill and bright parsley together. It is a visually stunning dish that looks like it came straight from a Mediterranean bistro but requires only one pan and a handful of pantry staples.
Why This Zucchini Chickpea Skillet Is a Must-Make
- Textural Perfection: You get the crunch of the crispy roasted chickpeas, the softness of the blistered tomatoes, and the meaty bite of charred zucchini.
- Nutrient Dense: Packed with plant-based protein, fiber, and healthy fats, making it a satiating vegetarian main or a robust side dish.
- Visually Stunning: The pop of red tomatoes against the forest-green herbs and white feta makes this a Pinterest-worthy centerpiece.
- Fast & Versatile: From stovetop to table in under 30 minutes, and it pairs beautifully with anything from grilled chicken to marinated white bean salad.
The Mediterranean Pantry: Key Ingredients
To achieve the forensic visual accuracy seen in our photos, each ingredient serves a specific culinary purpose. Don’t skip the fresh herbs; they are the “soul” of this Zucchini Chickpea Skillet.
- Zucchini: 2 medium zucchini (approx. 400g), sliced into thick 1/2-inch rounds. Thickness is key to getting a deep char without the vegetable turning into mush.
- Chickpeas: 1 can (15 oz / 425g) chickpeas, drained, rinsed, and patted bone-dry. Moisture is the enemy of crispiness!
- Cherry Tomatoes: 1 cup (150g) cherry tomatoes. We want them to blister and “burst” to create a natural sauce.
- Red Onion: 1/2 small red onion (60g), sliced into thin slivers to provide a subtle sweetness and softened texture.
- Feta Cheese: 1/2 cup (75g) large, creamy crumbles. High-quality sheep’s milk feta provides the best salty contrast.
- Fresh Herbs: 1/4 cup (10g) each of flat-leaf parsley and fresh dill. This “herb forest” adds the necessary aromatic lift.
- Lemon: 1/2 lemon, seared face-down in the skillet for a smoky, concentrated citrus juice.
- Spices: 1 tsp (2g) red pepper flakes for heat, plus kosher salt and cracked black pepper to taste.
- Oil: 3 tbsp (45ml) high-quality extra virgin olive oil, divided for searing and drizzling.
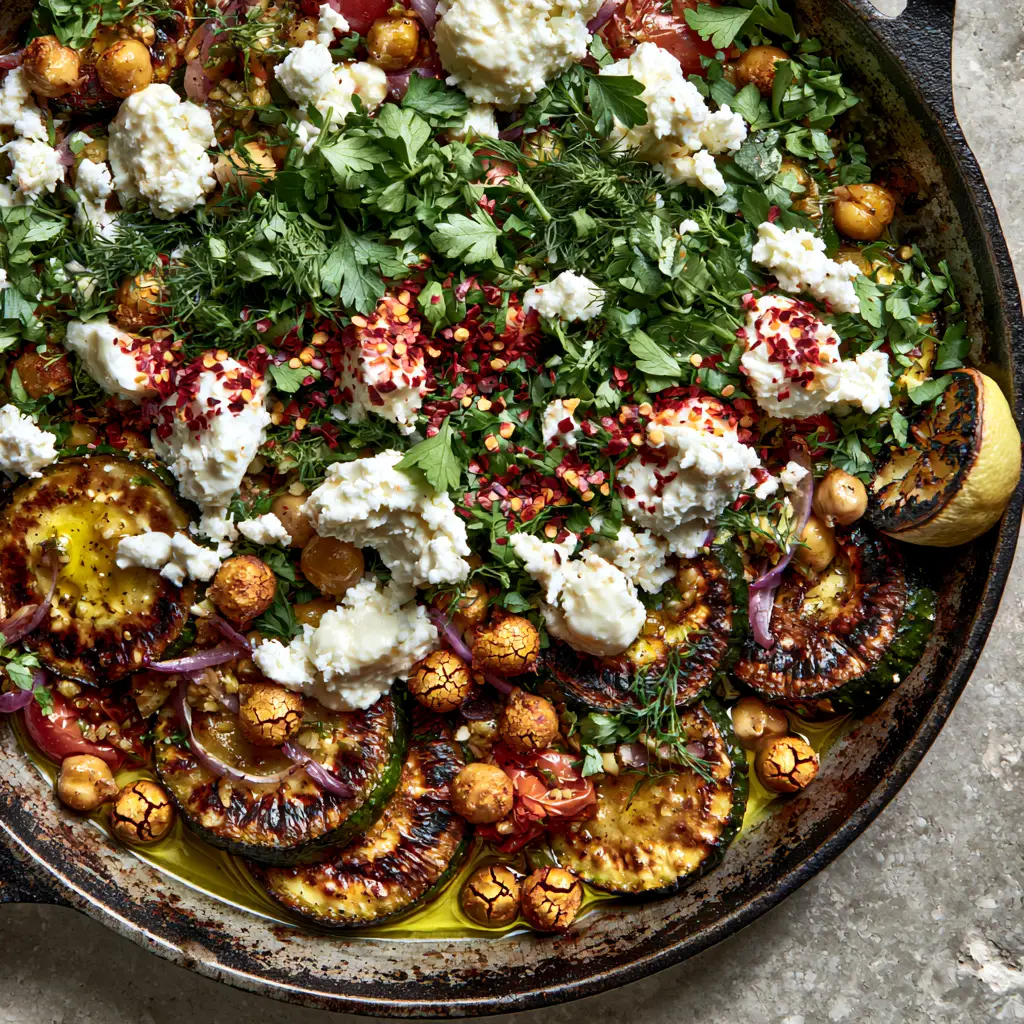
Mastering the Art of the Skillet Char
To make a professional-grade Zucchini Chickpea Skillet, you need to manage your heat. We aren’t just “cooking” the vegetables; we are searing them to develop complex flavors through the Maillard reaction.
Step 1: Achieving Crispy Chickpea Perfection
Start by heating 1 tablespoon (15ml) of olive oil in a large, seasoned black cast iron skillet over medium-high heat. Once the oil is shimmering, add your bone-dry chickpeas. Do not crowd the pan! Let them sit undisturbed for 2-3 minutes to develop a golden-brown crust. Toss occasionally for another 5 minutes until the skins are slightly cracked and crunchy. Remove and set aside.
Step 2: Charring the Zucchini Rounds
In the same skillet, add another tablespoon of oil. Arrange the zucchini rounds in a single layer. This is vital for the Zucchini Chickpea Skillet visual—each round should have a deep, caramelized char mark. Sear for 3 minutes per side. Resist the urge to flip them too early! Once charred, push them to the edges of the skillet.
Step 3: Blistering Tomatoes and Softening Onions
Add the red onion slivers and cherry tomatoes to the center of the pan. Place the lemon half, cut-side down, in a corner. Cook for 4-5 minutes. You are looking for the blistered cherry tomatoes to just begin to burst, releasing their juices, while the onions become translucent and soft. This creates a light, natural “pan sauce” that coats the Zucchini Chickpea Skillet.
Step 4: The Final Assembly & Garnish
Return the crispy chickpeas to the skillet. Toss everything gently to combine and season with salt, pepper, and red pepper flakes. Remove from heat immediately to preserve the vibrant colors. Now comes the garnish: heavily layer the large feta crumbles and the “forest” of chopped parsley and dill over the top. Finish with a final glistening sheen of golden extra virgin olive oil.
Expert Tips for the Best Zucchini Chickpea Skillet
- Dry the Chickpeas: If your chickpeas are even slightly damp, they will steam instead of roast. Use a clean kitchen towel to roll them dry before they hit the oil.
- Cast Iron is King: A cast iron skillet retains heat better than non-stick, which is essential for getting those signature dark char marks on the zucchini.
- Herb Freshness: Never use dried herbs for this dish. The brightness of fresh dill and parsley is what elevates this from a simple stir-fry to a Mediterranean masterpiece.
- Acid Balance: Squeeze that charred lemon over the entire Zucchini Chickpea Skillet right before serving. The heat concentrates the sugars in the lemon, providing a mellow acidity that cuts through the salty feta.
Storage, Reheating, and Meal Prep
The Zucchini Chickpea Skillet is best enjoyed fresh from the pan while the chickpeas are at their peak crispiness. However, leftovers can be stored in an airtight container in the refrigerator for up to 3 days.
To reheat, avoid the microwave, which will make the zucchini rubbery. Instead, toss the mixture back into a hot skillet for 2-3 minutes until warmed through. This recipe is also excellent served cold as a Zucchini Chickpea Salad, similar in vibe to a marinated white bean salad. We do not recommend freezing this dish, as the zucchini texture will degrade significantly.
What to Serve with Your Skillet
While this is a complete meal on its own, it also acts as one of the most versatile zucchini side dishes in your repertoire. Pair it with:
- Proteins: Grilled chicken skewers or cilantro lime shrimp bowls.
- Grains: Serve it over a bed of fluffy quinoa or warm pita bread with a side of hummus.
- Vegetables: If you’re hosting a feast, it complements perfectly sautéed vegetables or even creamy garlic baby potatoes.
Frequently Asked Questions
Yes! Bell peppers, asparagus, or even kale work wonderfully. Just be sure to add them according to their cooking times so nothing gets overcooked.
Yes, but they must be soaked and fully cooked until tender before you add them to the skillet. Canned chickpeas are faster for this quick weeknight meal.
The secret is high heat and thick slices. Slicing the zucchini into 1/2-inch rounds and searing them in a preheated cast iron skillet ensures they develop a char before they release too much moisture and turn soft.
Absolutely! Simply omit the feta cheese or replace it with your favorite vegan feta alternative or a sprinkle of nutritional yeast for a cheesy flavor.
Dry them thoroughly with a paper towel and remove any loose skins. Use a generous amount of oil and let them cook undisturbed for several minutes to build a crust.
The Ultimate Zucchini Chickpea Skillet Recipe
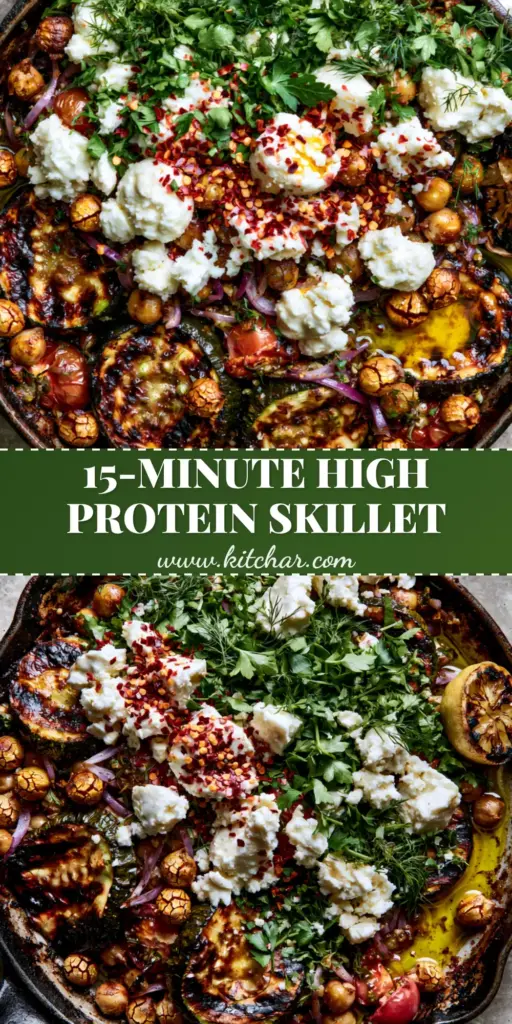
Zucchini Chickpea Skillet with Blistered Tomatoes and Feta
Ingredients
Equipment
Method
- Heat 1 tbsp olive oil in a skillet. Add dry chickpeas and cook for 7-8 minutes until golden and the skins are slightly cracked.
- Add 1 tbsp oil to the pan. Sear zucchini rounds in a single layer for 3 minutes per side until deep char marks appear.
- Add onions, tomatoes, and lemon half (cut-side down). Cook for 5 minutes until tomatoes burst and onions soften.
- Toss everything together. Top with feta, fresh parsley, dill, red pepper flakes, and a final drizzle of olive oil.
Notes
Use a high-heat cast iron skillet for the best zucchini char.
Join the Community!
If you loved this Zucchini Chickpea Skillet, please save this recipe to your Mediterranean Recipes board on Pinterest! Your saves help our community grow and allow us to keep developing free recipes for you.
Have you made this dish? We want to see your results! Upload a photo in the comments or tag @kit_char on social media. Don’t forget to leave a 5-star rating below if you enjoyed the flavors!